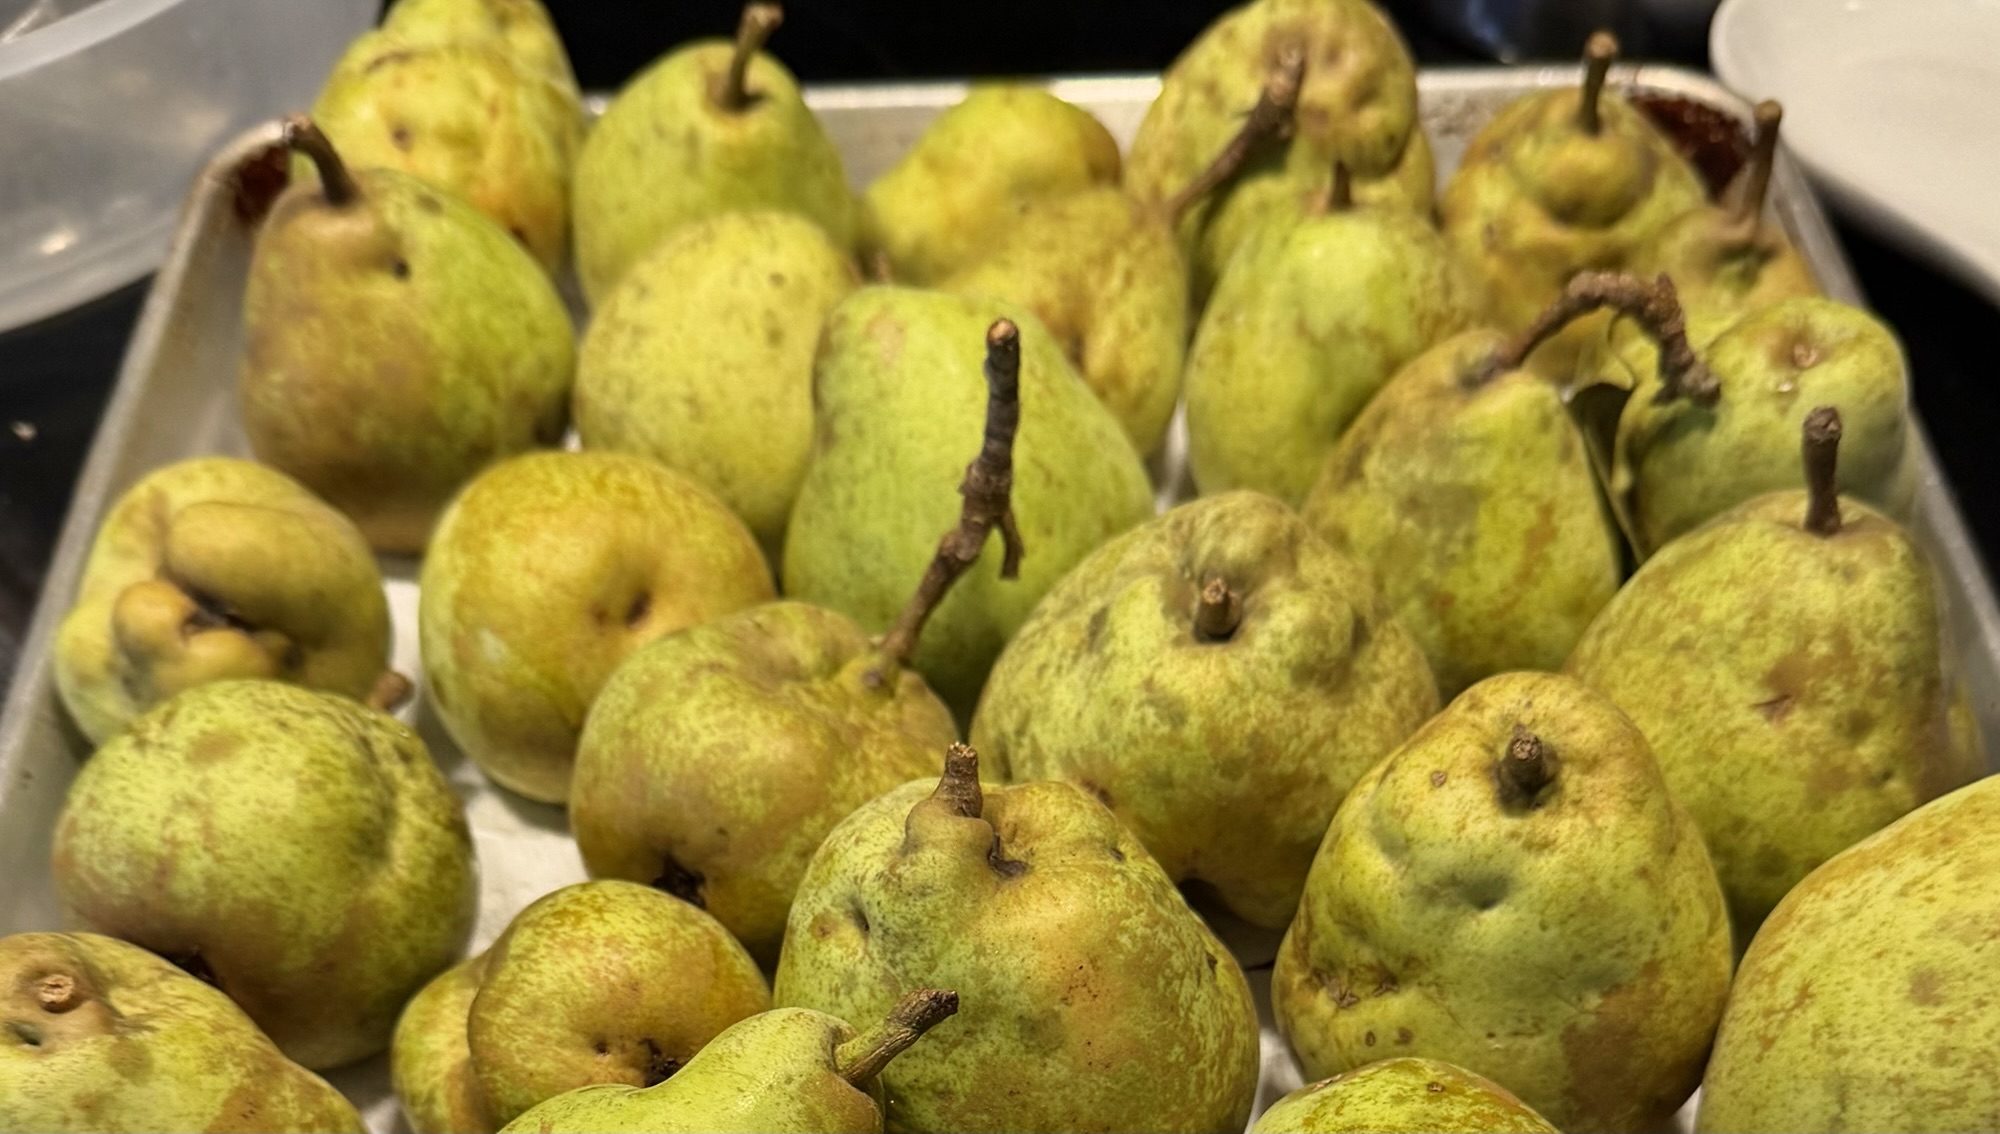
Last time an Aunt gave me a bucket of ugly pears, I made pear butter.
It turned out pretty well, and maybe I was the only one who really liked it.
Now I’ve got another batch of pears, and I’m thinking about trying something different. You know—something that works with pork chops, yogurt, steel-cut oats, or even my nightly piece of toast.
I’m not quite sure what it’s going to look like yet, but I’ve got pears, a kitchen, and a few ideas.
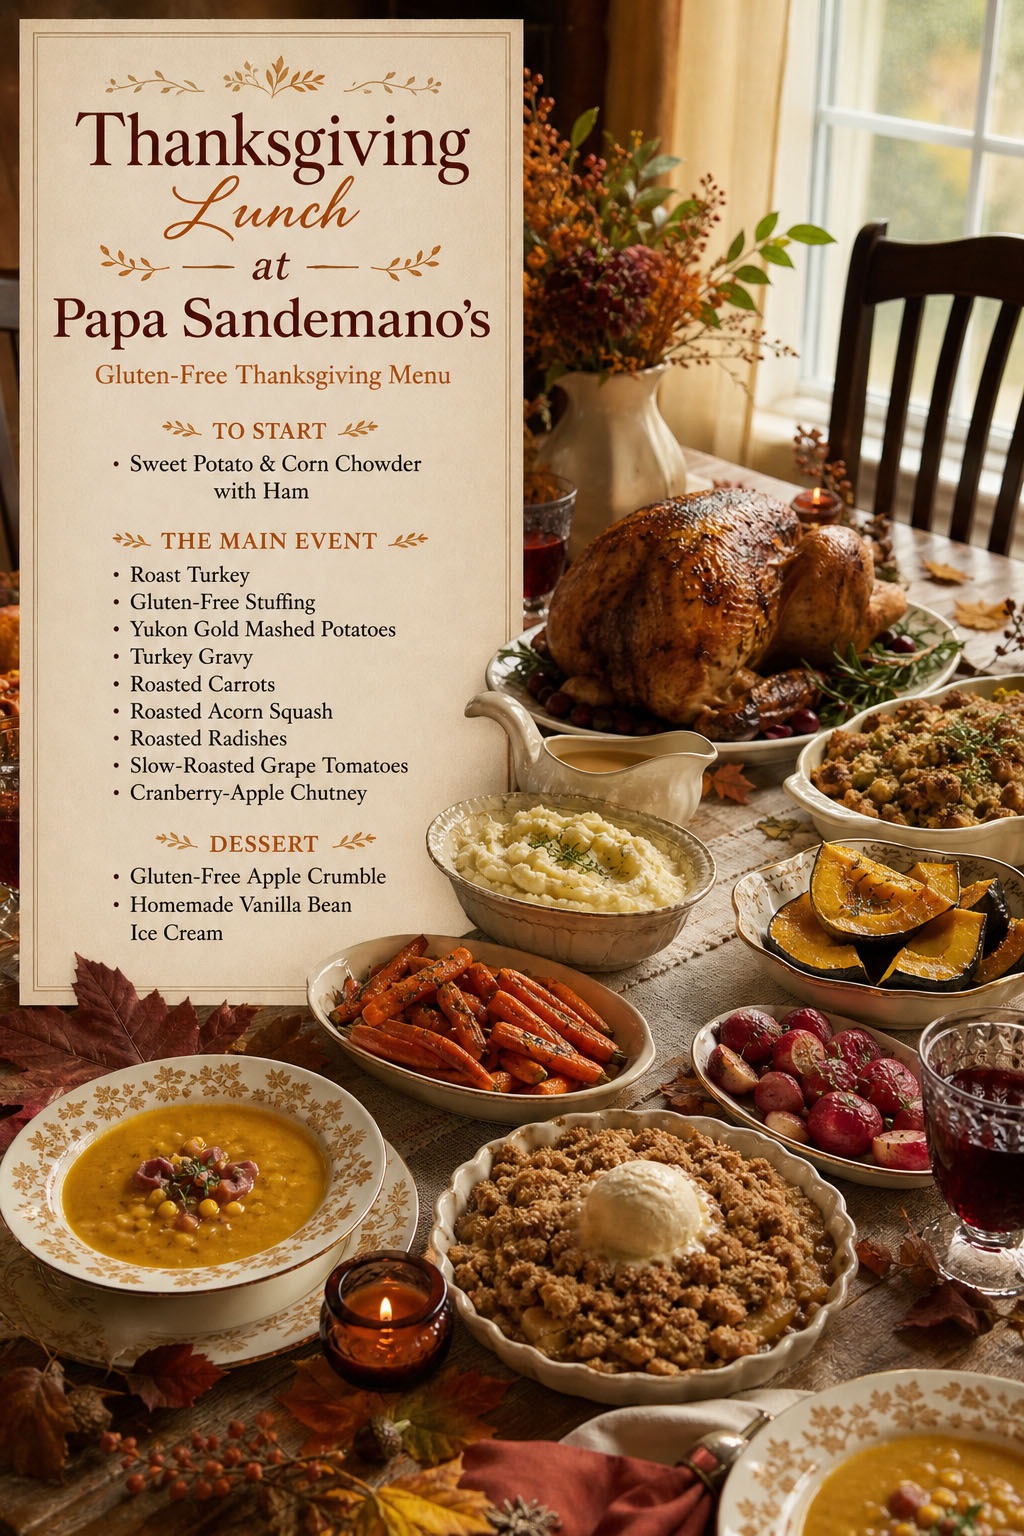
Individual gluten-free apple crumbles, finished with homemade vanilla bean ice cream. (I’ve promised Mrs Sandemano that we will not recreate the Smarties Ice Cream.)
The entire menu is gluten-free, because everyone deserves to enjoy Thanksgiving without having to worry about what’s on their plate.
Today is all about the mise en place. Tomorrow, we’ll see whether all this planning actually pays off.
The other day, I got the annual email reminding me to check all the information about my website.
So I did my due diligence and skimmed through the details. Really, nothing has changed over the past twenty years except the host, but one line of data smacked me in the face:
Holy shit, has it been twenty years?
Twenty years of posts, experiments, abandoned ideas, and I’ll admit, a stupendous pile of drafts yelling, “Post me!” or “Finish me!” or, occasionally, “Why did you put me back into drafts???!?”
And while it definitely hasn’t made me the millions I hoped would roll in when I first started, it turns out it was never really about that. It was for me.
So, if you’ve stopped by, welcome to Papa Sandemano’s.
You know how sometimes you avoid looking at a mess because if you stop and look at the clusterfuck, you start to feel like you’re failing?
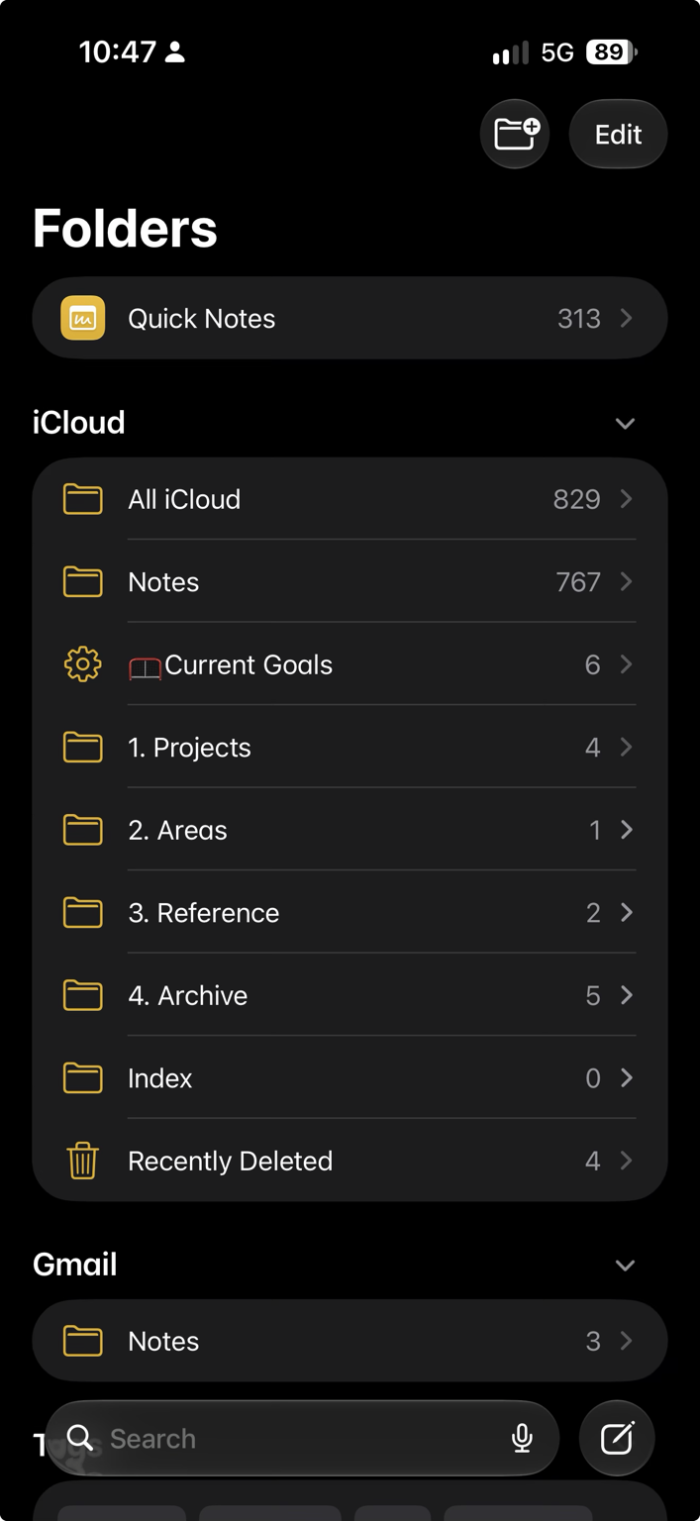
Yeah? I’ll give you an example—take my Notes app.
This whole rabbit hole started because I asked ChatGPT a stupidly simple question: What open loops do I have?
It started pulling together the shit I’d been talking about for days — house projects, cars, work stuff, the website, things I wanted to learn — and suddenly I was looking at the problem backwards.
Here’s what usually happens: I have an idea, I document it somehow — usually a photo, sometimes an actual note if I remember or can muster up the ambition — and then it disappears into the dark hole that is my phone.
Notes is especially bad for this. I’ve managed to stuff more than eight hundred things in there over the last two years.
This morning I had a couple of hours to burn, so instead of working on a post for this site, I went digging through Notes.
Inside were abandoned projects, random Quick Notes, a Smart Folder I forgot existed — and apparently forgot how it worked — plus an old goal system that made me wonder, “What the fuck was I smoking back in 2024, and how can I get some more?”
I was really into Tiago Forte’s PARA system for a while (Projects, Areas, Resources and Archives) but I think I was treating it too much like a filing system. It felt like WORK.
This goes here. That goes there. Make the folder. Put the note in the folder.
Which works, I guess—until the system gets big enough that half the problem is remembering what you called the fucking thing in the first place.
I didn’t need Notes to constantly show me everything. I needed Notes to give everything a home, and ChatGPT to be the thing I could think through it with.
PARA could be the structure underneath it all. Projects, Areas, Reference, Archive. Simple enough.
That way, I wouldn’t ignore every note yelling “DO ME!” at me all at once. Notes could hold the mess while Pins and Smart Folders showed me what actually mattered.
Active projects get pinned. Smart Folders can pull together things like Current Goals without me building another fucking filing system inside the filing system.
The cleaned-up version: PARA for structure, Current Goals as a dashboard, and active projects kept visible.
Drafts and ideas don’t need much more than that. Just because I had an idea and thought about it for more than five minutes doesn’t mean it needs to become a project with a giant imaginary WRITE POST!! attached to it.
A lot of those ideas can sit in Reference until they turn into something.
See, my problem isn’t that I don’t have ideas. It’s finding-the-damn-thing-again.
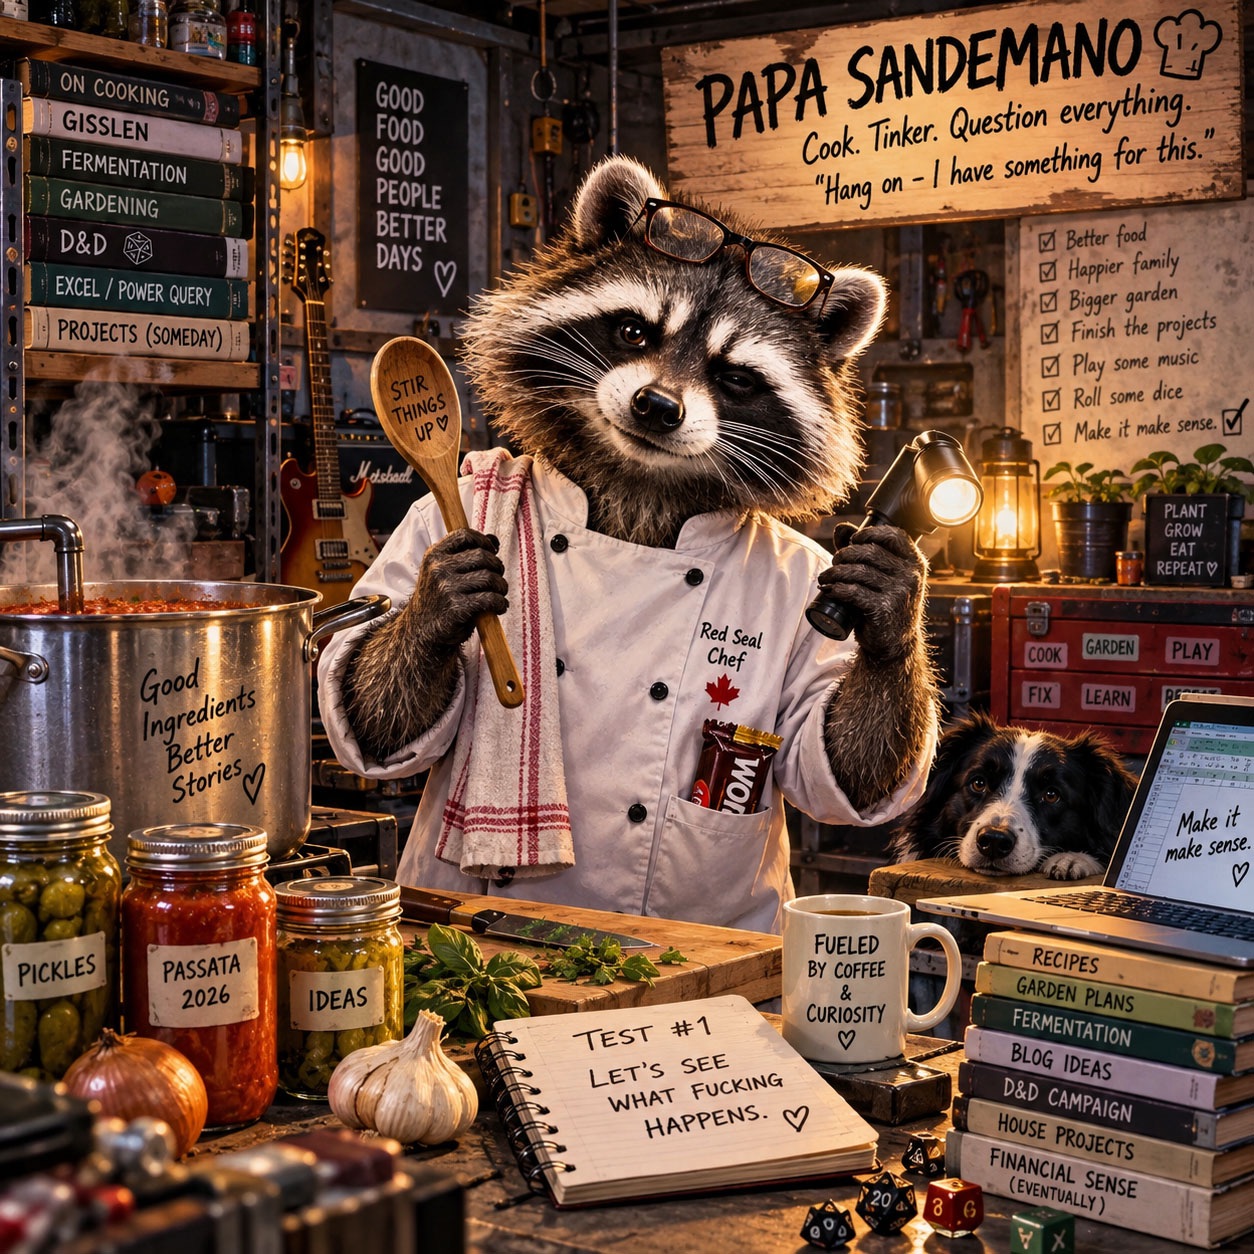
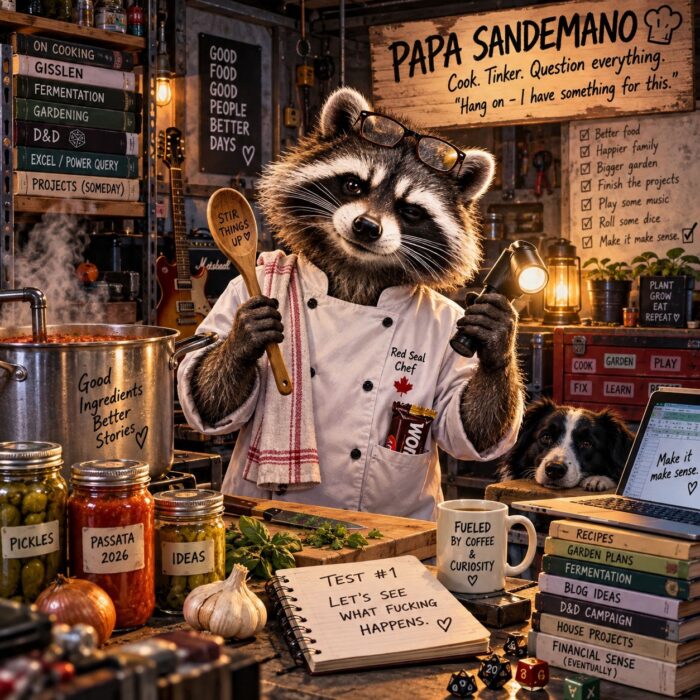
Doing all this reminded me why I came up with the Papa Sandemano mascot. It fits.
From the outside it looks like absolute chaos. Recipes, garden stuff, blog ideas, house projects, books, jars, tools, probably a D20 buried under something.
All you have to do is ask if Papa knows where something is.
“Oh that? Yeah, third pile from the left, under the fermentation notes.”
Papa Sandemano, fueled by coffee, curiosity, and far too many unfinished ideas.
I’m never going to become the guy with the perfectly clean system and three neatly labelled folders. Too much work for very little payoff. Besides, it’s not someone else’s system. It’s mine.
I just need the chaos to make sense to me.
And maybe, for once, I’ll be able to find the damn thing again when I go looking for it.
GET TO THE POINT, PAPA: Pasta is a big deal in our house, and now it needs to be gluten-free. First up: Barilla Gluten-Free Penne. Would it fly with the family? Yep. Everybody ate it, the Sous annihilated it, and the leftovers reheated well. We’re buying it again.
Now, onto the rest of the story.
Gluten-free pasta wasn’t something I worried much about professionally.
If someone couldn’t eat gluten, there were other things on the menu. Pasta could simply be avoided.
At home, pasta is a big part of how we eat, and our Family Sauce is a big fucking deal. I’ve been chasing the dream of making that sauce taste like Nonna’s for years. “Just don’t have pasta” ain’t gonna fly.
So now I need to figure out gluten-free pasta. Not a sad, “Here dear—eat this compromise and pretend it’s okay.”
I’ve cooked pasta professionally and at home for decades, so I know what I expect from it. Take the wheat out, though, and I’m basically starting over.
Rather than assume gluten-free pasta is good, bad, or something we just have to tolerate, I’m going to test the shit on the entire family. The question is—will it fly?
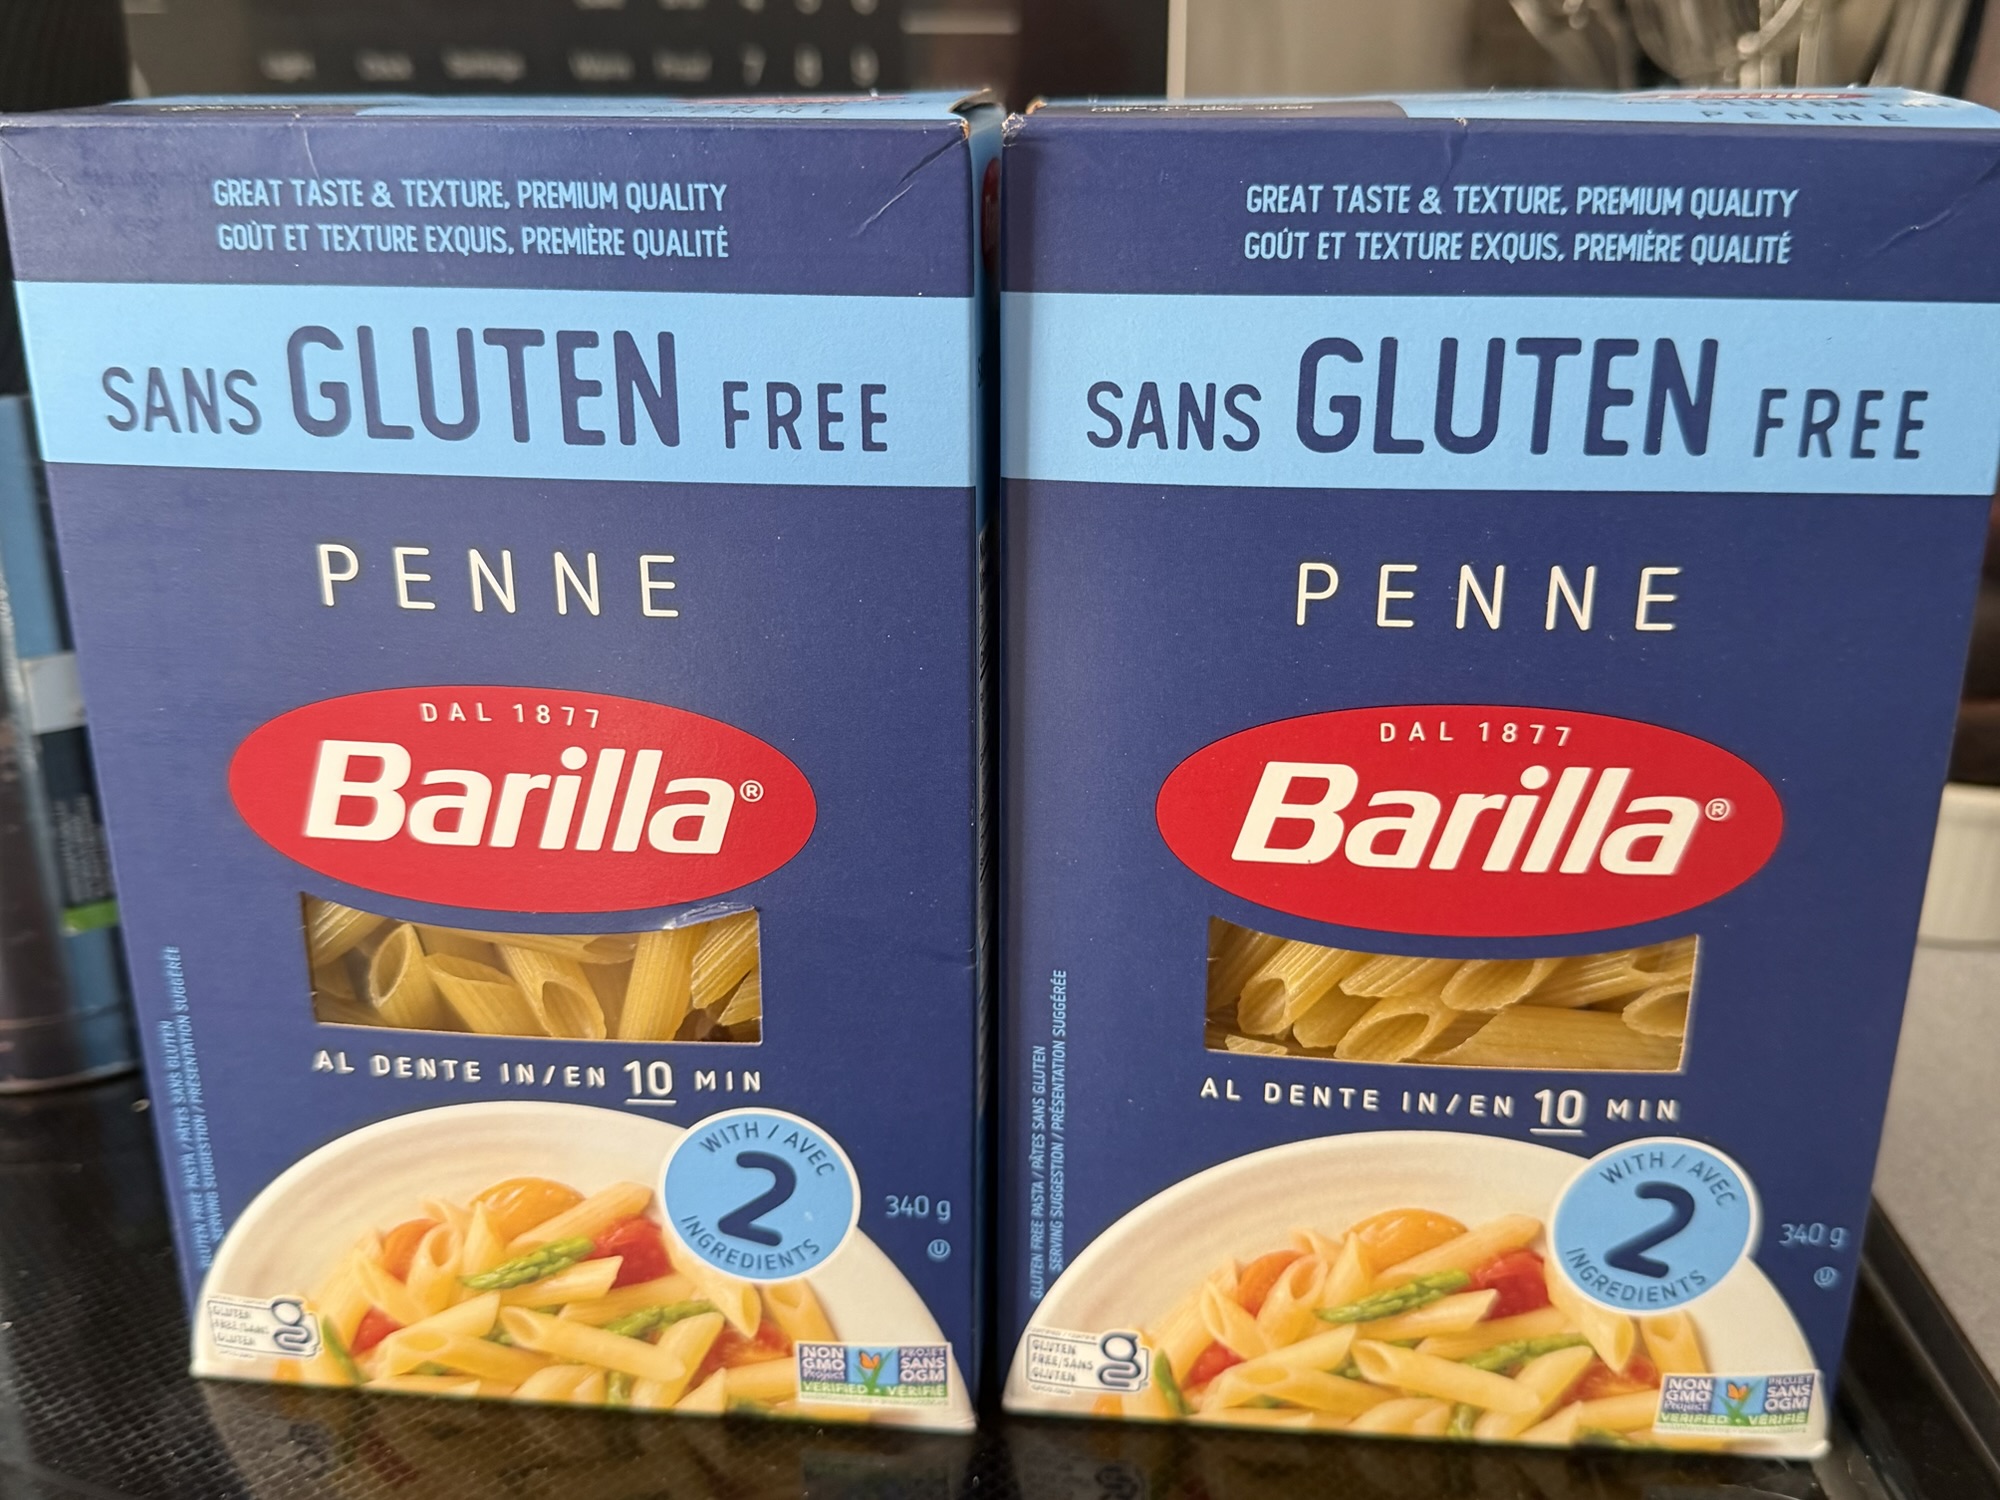
First up: Barilla Gluten-Free Penne.
What I’m Working With
Barilla Gluten-Free Penne 340 g Rice flour + corn flour $3.77 at Walmart in Saint-Eustache
The box says 10 minutes for al dente, 11 if you want it more tender.
Tonight, I’m serving it with our Family Sauce—which seems like a pretty fair fucking test. If gluten-free pasta is going to work in this house, it needs to work here.
The Plan
I usually cook 500 g in one go (so we have leftovers). I’m starting with the same baseline, so roughly one-and-a-half times the 340 g box for the four of us.
I’ll taste it as it cooks, see how close the box directions are to what I actually consider al dente, and pay attention to the texture, flavour and how well it holds the sauce.
Then I’m serving it to the family. The plan is to treat it just like any other pasta—use the pasta water and Parmesan, and toss it until you hear the sounds of amore.
I don’t need gluten-free pasta that’s pretty good for gluten-free pasta. I want pasta we can put on the table without feeling like we’re eating the consolation-prize version of supper.
The Test
Update (like, only six days later—what do you want? I remembered.)
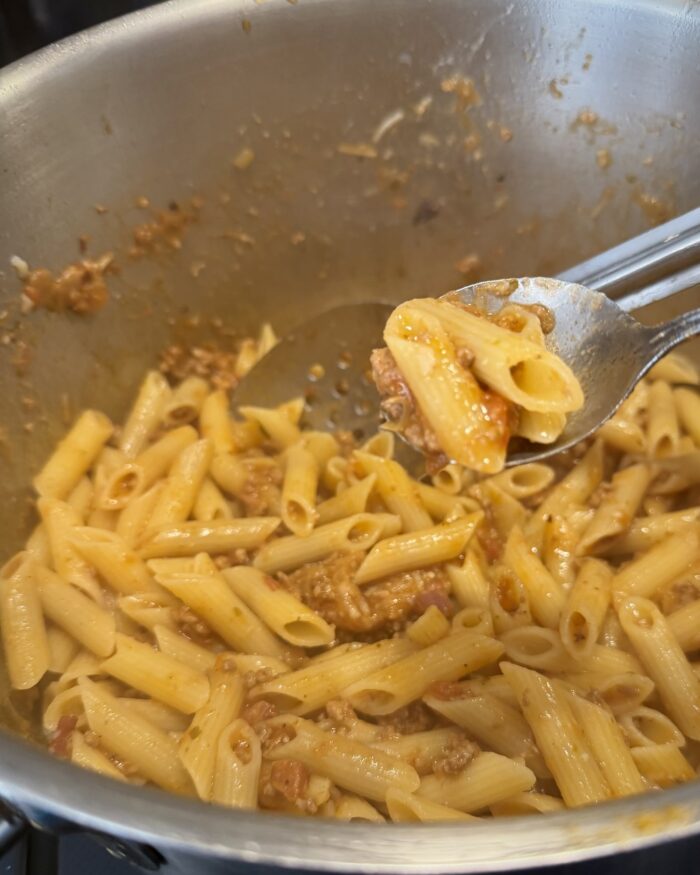
The Barilla Gluten-Free Penne got its shot with the Family Sauce, and it passed.
Mrs. Sandemano liked it. The Kid liked it. The Sous demolished his bowl, went back for another one, and later raided the leftovers.
The scene of the crime. The evidence: a pot of Barilla Gluten-Free Penne with Family Sauce
If you know me, you know that, of course, I also changed the sauce. What did you think was gonna happen, after my trip to Italy?
But that’s not the point. They were eating the new sauce, and nobody complained about the pasta. In fact, they only asked after the fact whether or not it was gluten-free.
So, the noodles held up, they carried the sauce, and a bonus—the leftovers reheated nicely. They weren’t sad gluten-free pasta leftovers the next day.
And that’s the whole test, right?
Could we eat this? Would we enjoy it? Of course.
Papa Notes
One thing I’m already curious about is the package size. At 340 g, one box works out to 85 g each for four people. I’m used to figuring roughly 100 g of dry pasta per person, usually making a little extra for leftovers.
So before I’ve even boiled the water, there’s Test #1:
Why is the fucking box only 340 g?
Portioning: 500 g worked out basically the same as regular pasta for us — about five portions, with only a little left over. That means three boxes (1020 g) cover two meals made with 500 g.
Batch #1 came out technically pickle-shaped, technically fermented, and pretty fucking insipid. I threw some apple cider vinegar into the jar in an attempt to rescue them and gave the whole experiment about a 5/10.
Naturally, my response was:
Okay. Let’s do this again.
~Papa Sandemano
But before Batch #2, I went looking to see how other people were doing this.
I pulled out Joshua Weissman’s An Unapologetic Cookbook and looked at his recipe for lacto-fermented vegetables. I wasn’t really looking for another recipe to copy. I wanted to see what he was doing differently—and whether that might explain why Batch #1 had been so fucking insipid.
Then I worked through it with ChatGPT using my own notes from Batch #1, comparing what I’d done, what Weissman was doing, and what I actually wanted to change. Between the book, my notes, and a lot of back-and-forth, I came up with a process for Batch #2 that made sense to me.
Or at least, that was the plan.
A few weeks later, I finally got around to it.
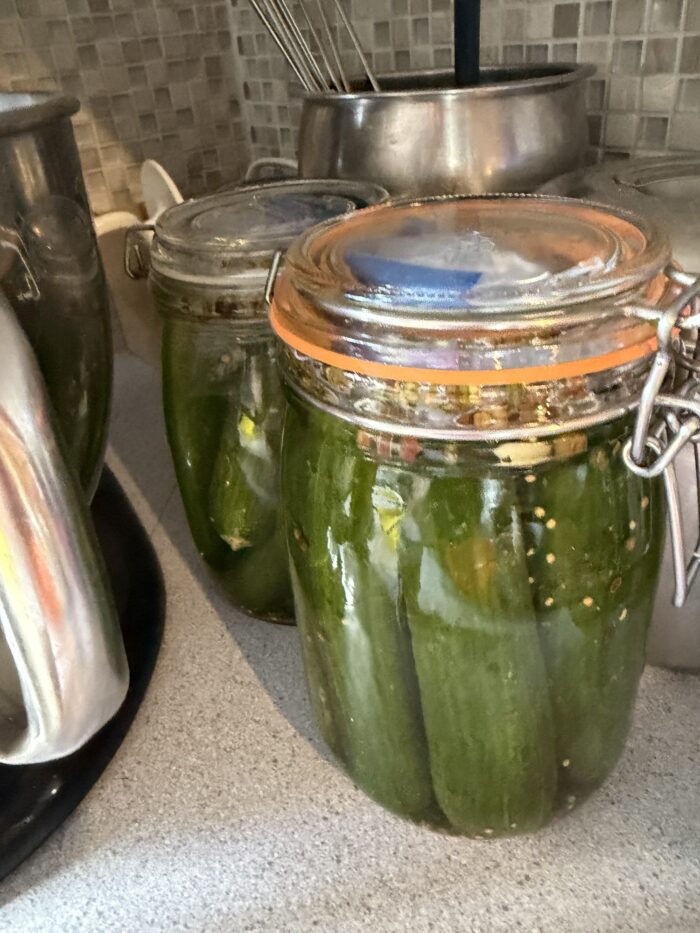
I had another batch of Costco cucumbers (less than three bucks—a steal), and while I was hunting for 1-litre jars big enough for my pickle pipes, I stumbled across these cool fucking flip-top jars I’d been wanting to try, and to prove to Mrs. Sandemano that there was a point to owning so many of these.
I figured, why not? The pickles fit. It’s got a seal, they’re easier to burp, and it’s less hassle. Right?
Cool. Rock on.
So I started loading everything in. Measured the spices, added the garlic, packed in the cucumbers and filled the jar with water.
Which is when I realized I’d designed myself a pretty fucking stupid process.
I needed the weight of the water so I could calculate the salt for the brine. Which meant I now had to pour the water back out of a jar I’d already filled with dill, coriander seeds, garlic and cucumbers.
Fine. Strain it, weigh the water, calculate the salt, whisk it together and pour the brine back in.
Except I was making two jars.
And on the second one, I forgot the fucking strainer.
So now I’m standing there whisking salt into a bowl of water with dill and coriander seeds swimming around in it, thinking:
There has got to be a less stupid way to do this. ~every time a good cook learns how to do a new task
And there is.
I could have just weighed the fucking spices and garlic first, accounted for that weight, and saved myself this entire exercise.
Lesson learned.
Anyway. Brine made. Pickles packed.
Then the fucking cucumbers (and spices) started floating.
Fuck!
I hadn’t thought about that.
The cucumbers wanted to come up. The dill and coriander seeds wanted to come up. And I suddenly realized that these cool fucking flip-top jars had one fairly significant disadvantage:
I had absolutely nothing to keep this shit under the brine.
So now I’m troubleshooting live. I remembered reading that you could use a Ziploc bag filled with brine as an improvised fermentation weight. Fine. I’ve got Ziploc bags. I figured that Gemini could give me the quick low-down.
After a ten-minute dive into a rabbit hole, I came out the other end with indeed—you could use Ziploc bags as an impromptu fermentation weight—the caveat is you need to ensure there’s fresh brine inside as the weight. (This way, if the bag breaks you’re safe.)
Easy. In goes the bag.
Cucumbers down. Spices mostly down. A massive pain-in-the-ass to close, brine everywhere.
Fuck it! Good enough! Problem solved.~ Papa Sandemano
Or, as it turns out, problem relocated.
A couple of days later, I noticed the jars were leaking brine.
Every time I messed with the lids, I seemed to lose a little more, so eventually I put the jars on a pizza pan, covered the whole thing with a towel and left the lids open rather than constantly burping them.
Then I left them alone to ferment.
On Day 5, I came back to check them.
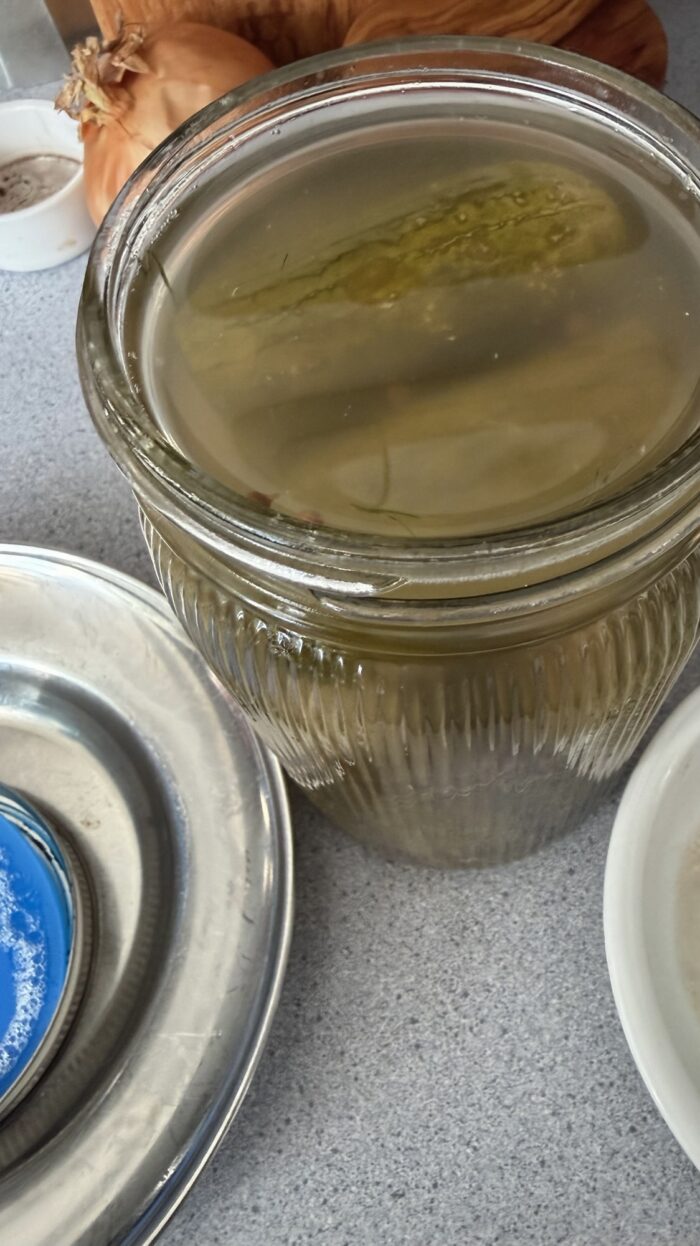
Jar #1 looked pretty much like I’d left it.
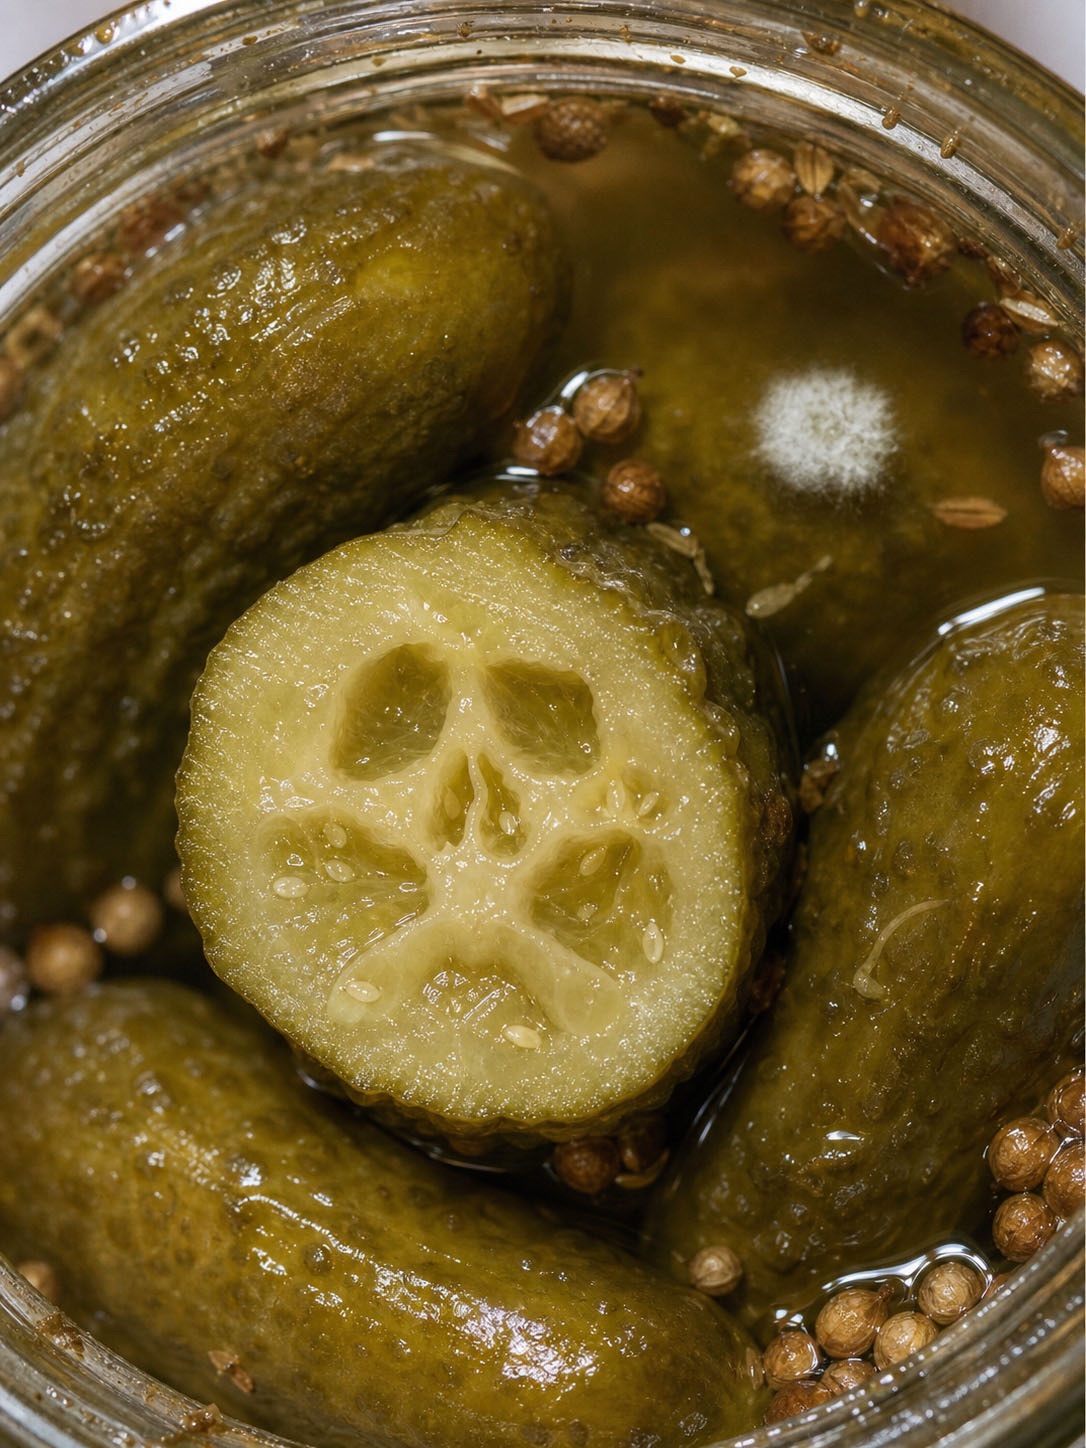
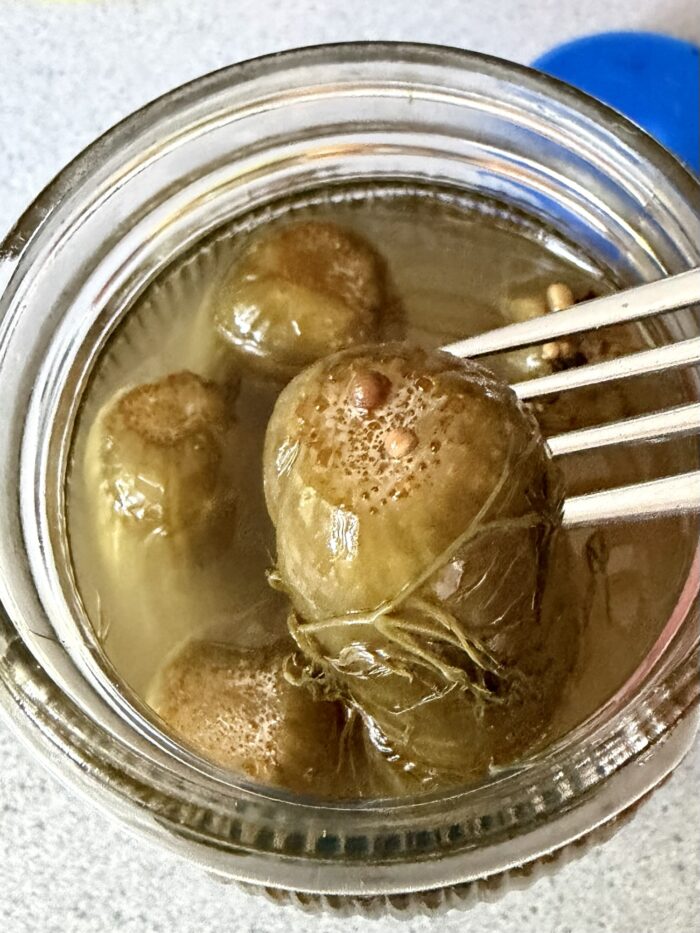
Jar #2 did not. When I opened the lid, my brain saw (with a little imaginative help from Firefly)
Sometimes the experiment answers the question you forgot to ask.
Uh oh.
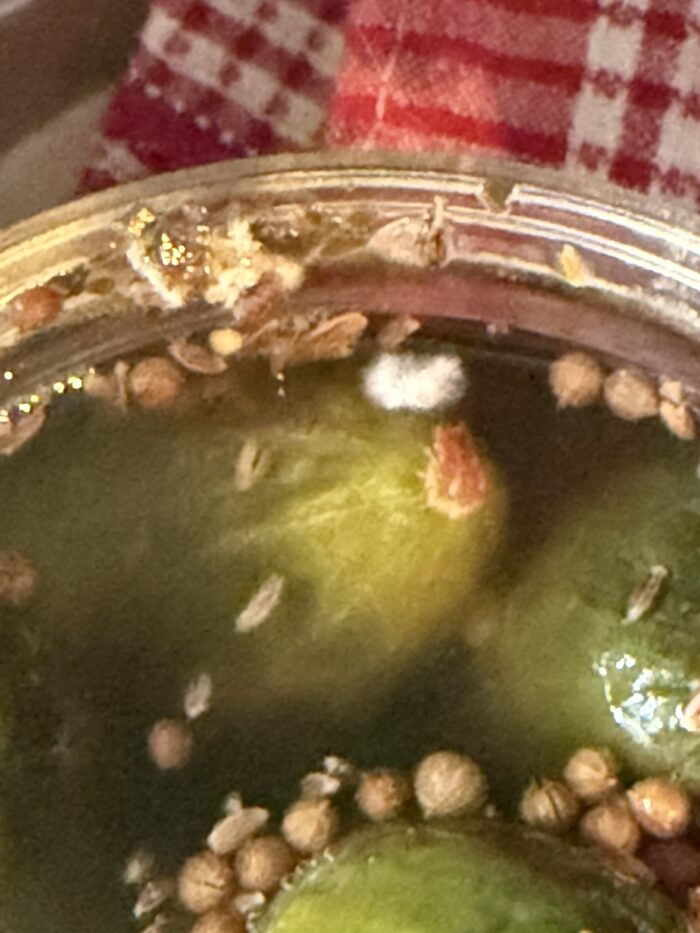
There, sitting right at the surface amongst the floating spices, was a nice little fuzzy white patch. This is what I really saw :
Mold. So much for “problem solved.” ~ Papa Sandemano
Well, fuck.
Jar #2 was done. I’m adventurous, not stupid. That one was going in the bin.
Jar #1 didn’t have the same fuzzy patch, so I dealt with the frothy shit floating at the surface, got everything submerged again and decided to see where it goes. This time I was taking no chances, and seeing if the ramekin I’m using as a weight will work out.
Which left me wondering what the fuck had actually gone wrong. Too many variables at once?
And then, because apparently the universe has a sense of humour, I went downstairs.
So, I’m putting stuff away and finally decide it’s time to throw out the Mutti bottles I’d been saving for passata. (Fuck it. I’ll use Mason jars.)
And sitting there was a neatly tied plastic bag. Guess what’s inside?
Two 1-litre wide-mouth Mason jars.
For those of you saying (rightly) “You have got to be fucking kidding me…” in my defense, I forgot that before we left for vacation back in June, my mother-in-law had sent these home with Mrs. Sandemano for me. I’d put them downstairs because I already had all those Mutti bottles and figured I probably wouldn’t need them.
These were the exact fucking jars I’d been looking for when I started Batch #2. The ones that fit the pickle pipes I already own.
Of course they were sitting in my basement the whole fucking time.
So, yeah. There will be a Batch #3.
Same experiment. Fewer variables.
One-litre wide-mouth Mason jars. Pickle pipes.
As for Jar #1 of Batch #2? As the French say—À venir!
The other day I helped a family with their annual passata tradition. I had an ulterior motive: making passata has been on my bucket list for years, and I wanted to learn how they did it.
While we were working, I remembered seeing a Facebook reel about the “Nonno Knife” and thinking it was amusing.
Why are you telling me this, Papa? Well, the Nonno in this operation used a cheap supermarket paring knife.
What do you know? It looks like the reel was true! He was literally using a “Nonno knife.”
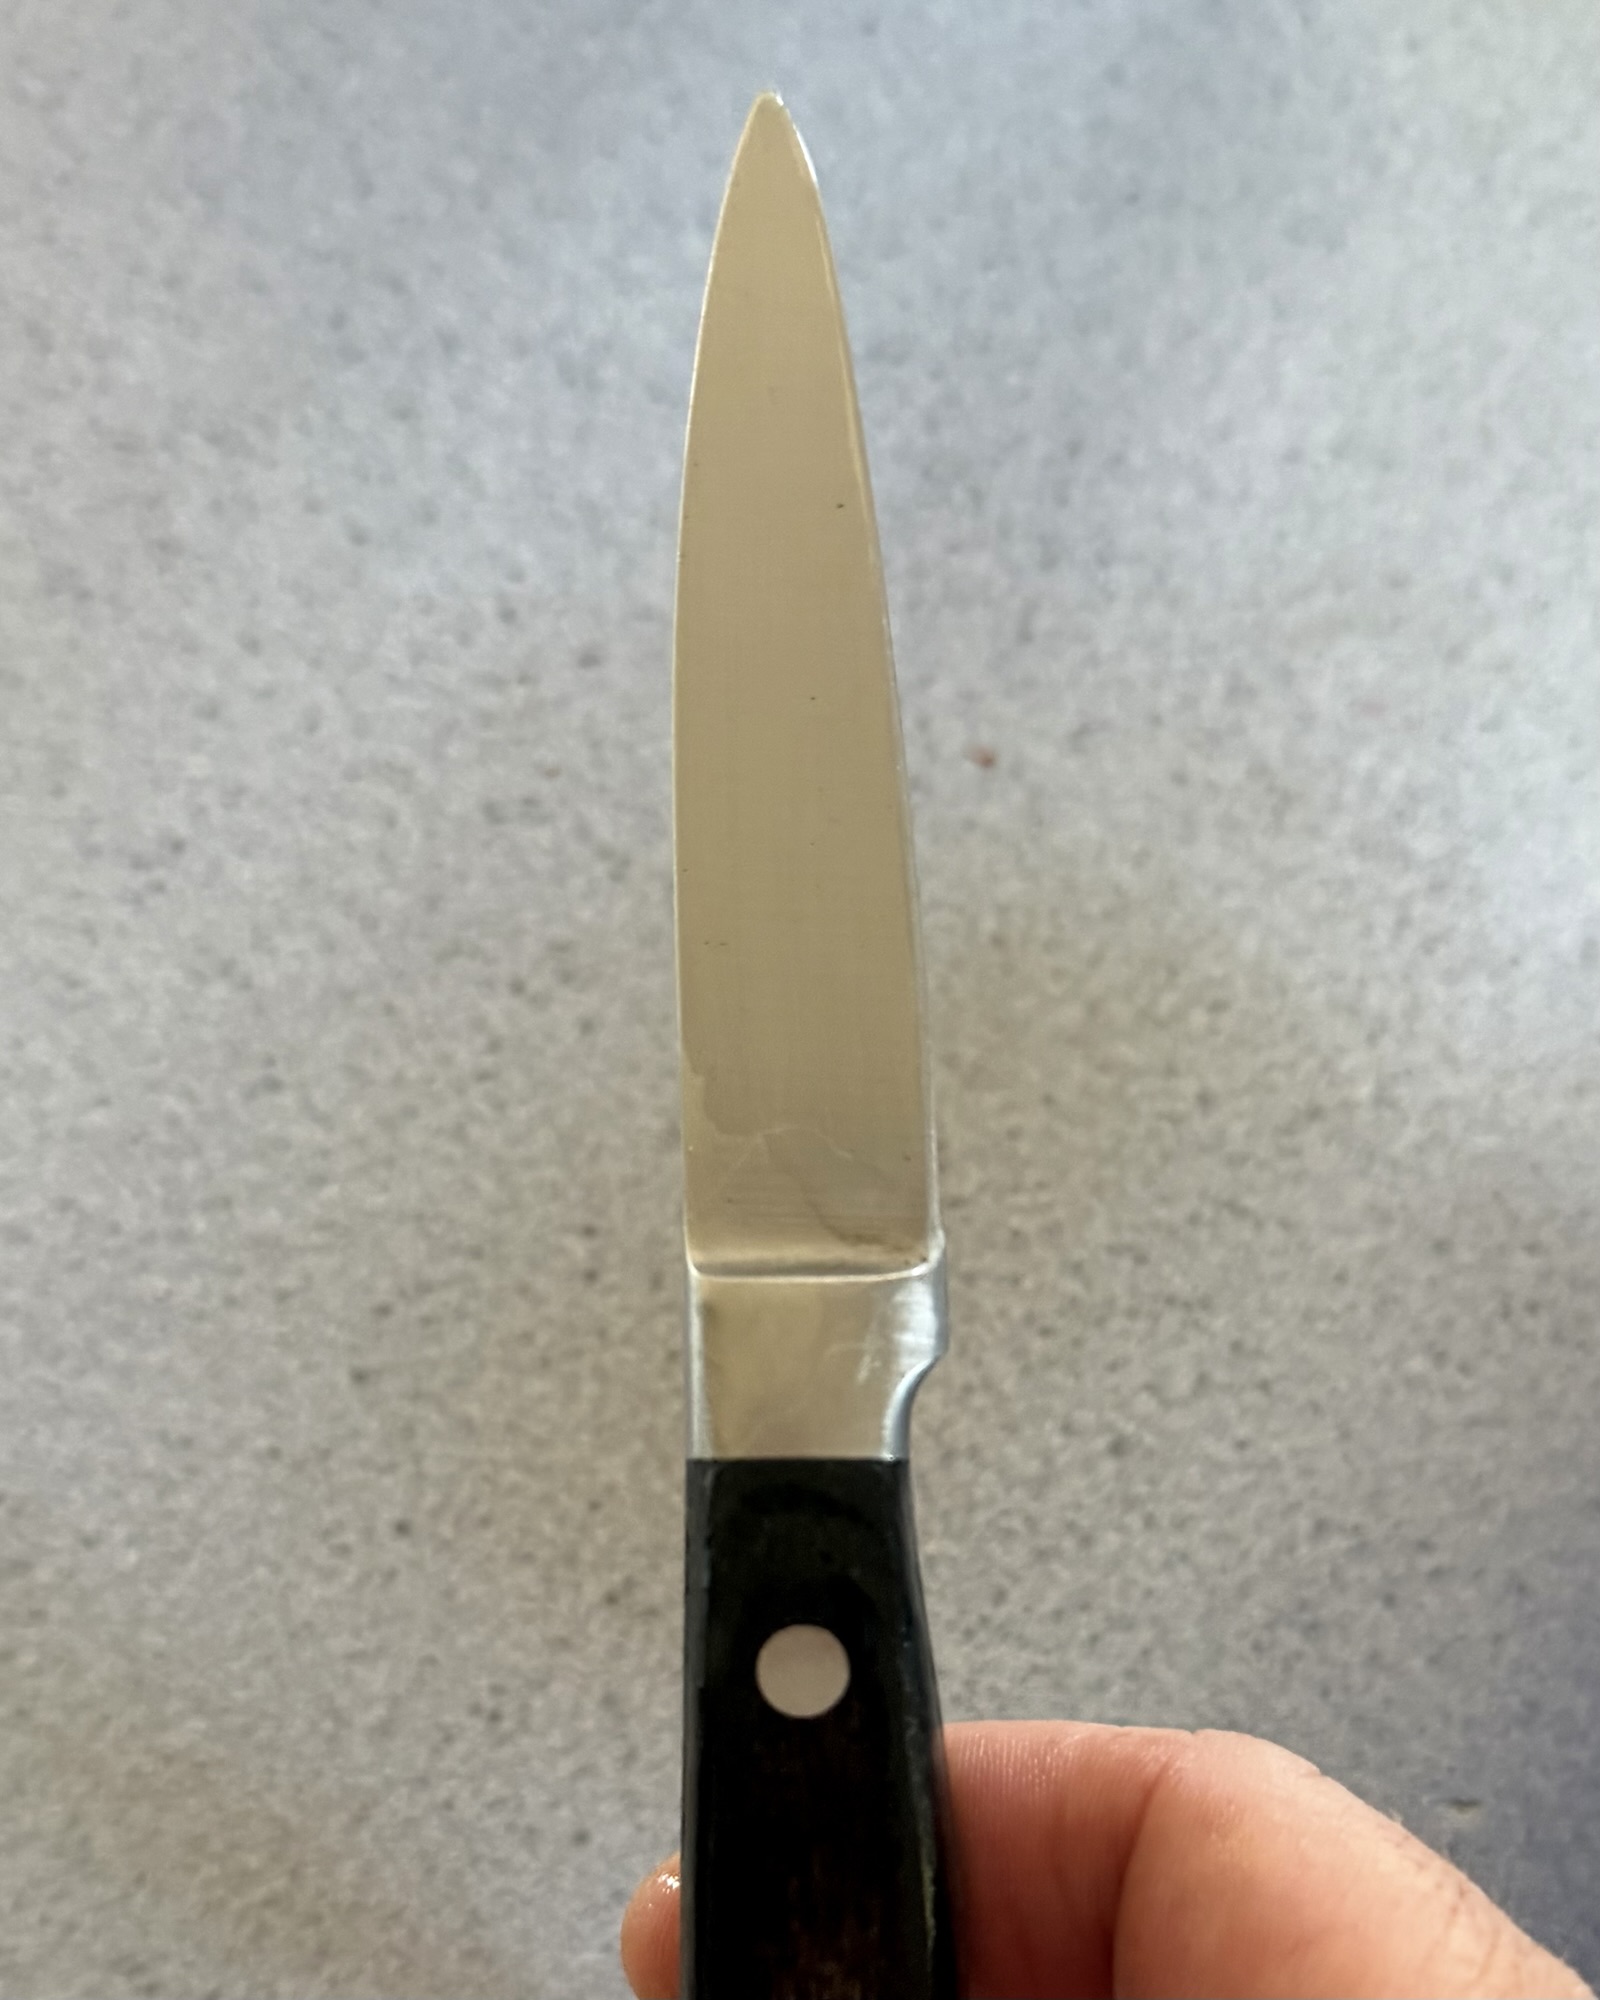
So I get home, and guess what? Despite owning a roll of stupidly expensive professional knives (including a $100 paring knife, but NOT a Japanese knife, at least)—the knife I’ve used for most tasks over the last 25+ years is a cheap one I got for free from a kitchen renovation.
Somehow, after all these years, I have a Nonno knife.
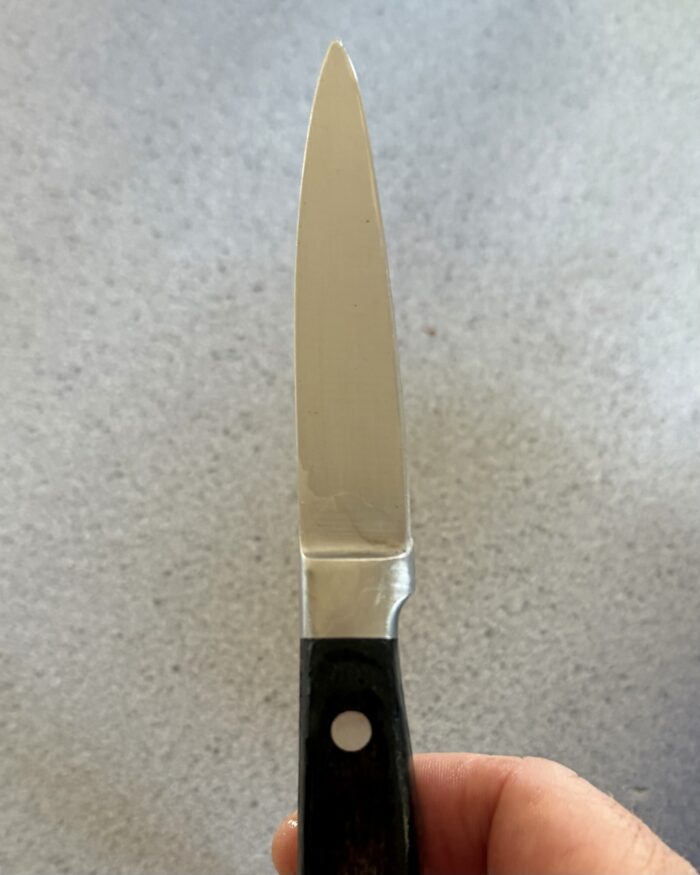
But since I’m not a Nonno (yet), let’s just call it “Papa’s Knife.”
Apparently this experiment wasn’t finished fucking with me.
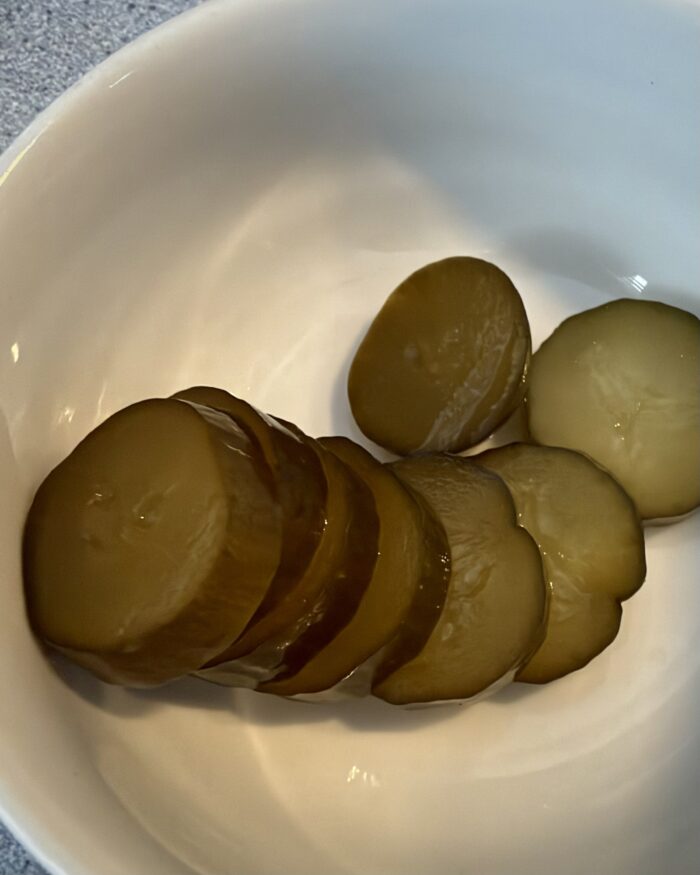
I was about to throw these pickles out today and decided to taste one first. After another couple of weeks sitting in the vinegar, they’ve actually improved.
The Sous tried them too, and we came to the same conclusion: they’re better. They’re funky, but in a good way. The only problem is that the apple cider vinegar flavour has taken over.
Batch #1, two weeks later. Apparently I wasn’t done with these fucking things yet.
So Batch #1 isn’t going in the garbage after all.
It’s becoming dill pickle relish.
I’ll take the win.
Meanwhile, I tried Batch #2. That went… differently.
I checked them daily, and found myself skimming the top because of some wild yeast.
A little over a week ago, I decided I wasn’t going to fuck around with the yeast growth anymore. I’d done some research, bounced what I was seeing off Gemini, and everything seemed normal enough—but I’d reached the limit of how adventurous I felt like being. I kept thinking, “I do not want to fuck these up.”
A little over a week in. I’d fucked around with fermentation long enough. Into the fridge.
Only one problem to fix before we could call this test done. I still had to eat one. It took another day to work up the nerve:
Well, They’re Pickles. 4/10 for flavour.
I don’t know if I fucked them up—or if I’m just not used to that flavour.
Nothing about them screamed failure. Maybe I’m just expecting that sharp, vinegary deli pickle you get beside a burger.
Dill. Garlic. Salt. Crunch. Vinegar.
These weren’t that.
After Mrs Sandemano’s taste test—she caught me red-handed eating these straight out of the jar—we agreed they were missing acid more than anything.
So I added two tablespoons of apple cider vinegar and put them back in the fridge. Hopefully, they’d improve.
A couple of days later, I tried another one.
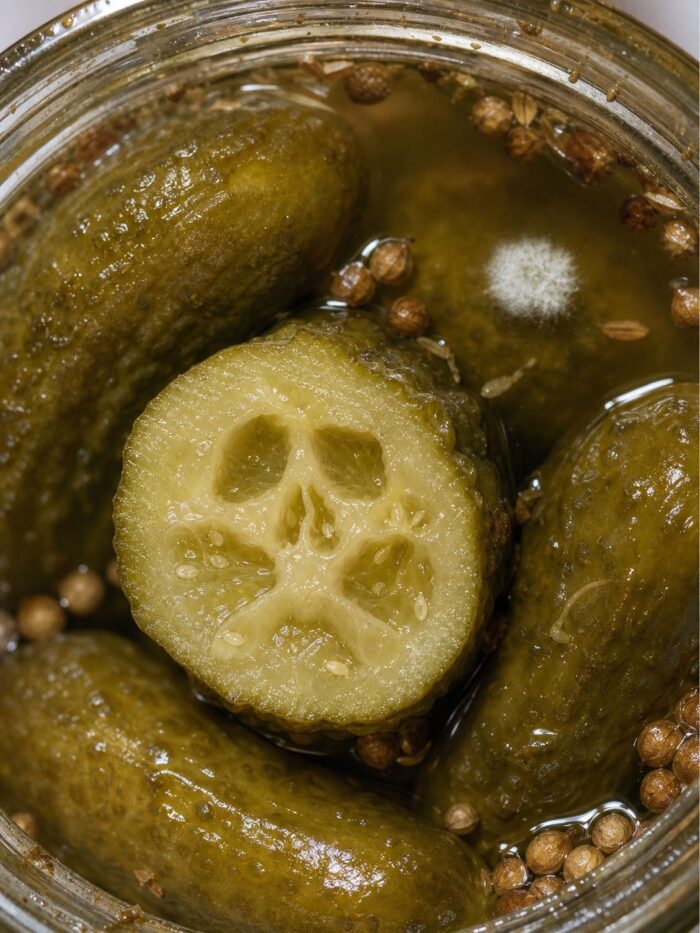
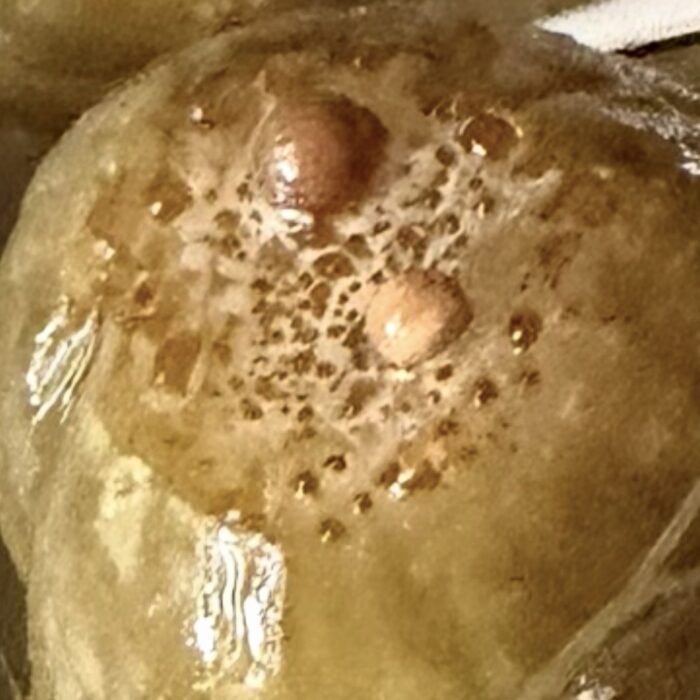
Don’t worry, the white webbing is “Stomata & Lenticels!” It’s fine.
Ehh…5/10?
They’re better. The vinegar got them a little closer to what my brain apparently thinks a pickle is supposed to taste like.
Still, I’m not exactly standing here thinking, fuck yeah, check out this pickle.
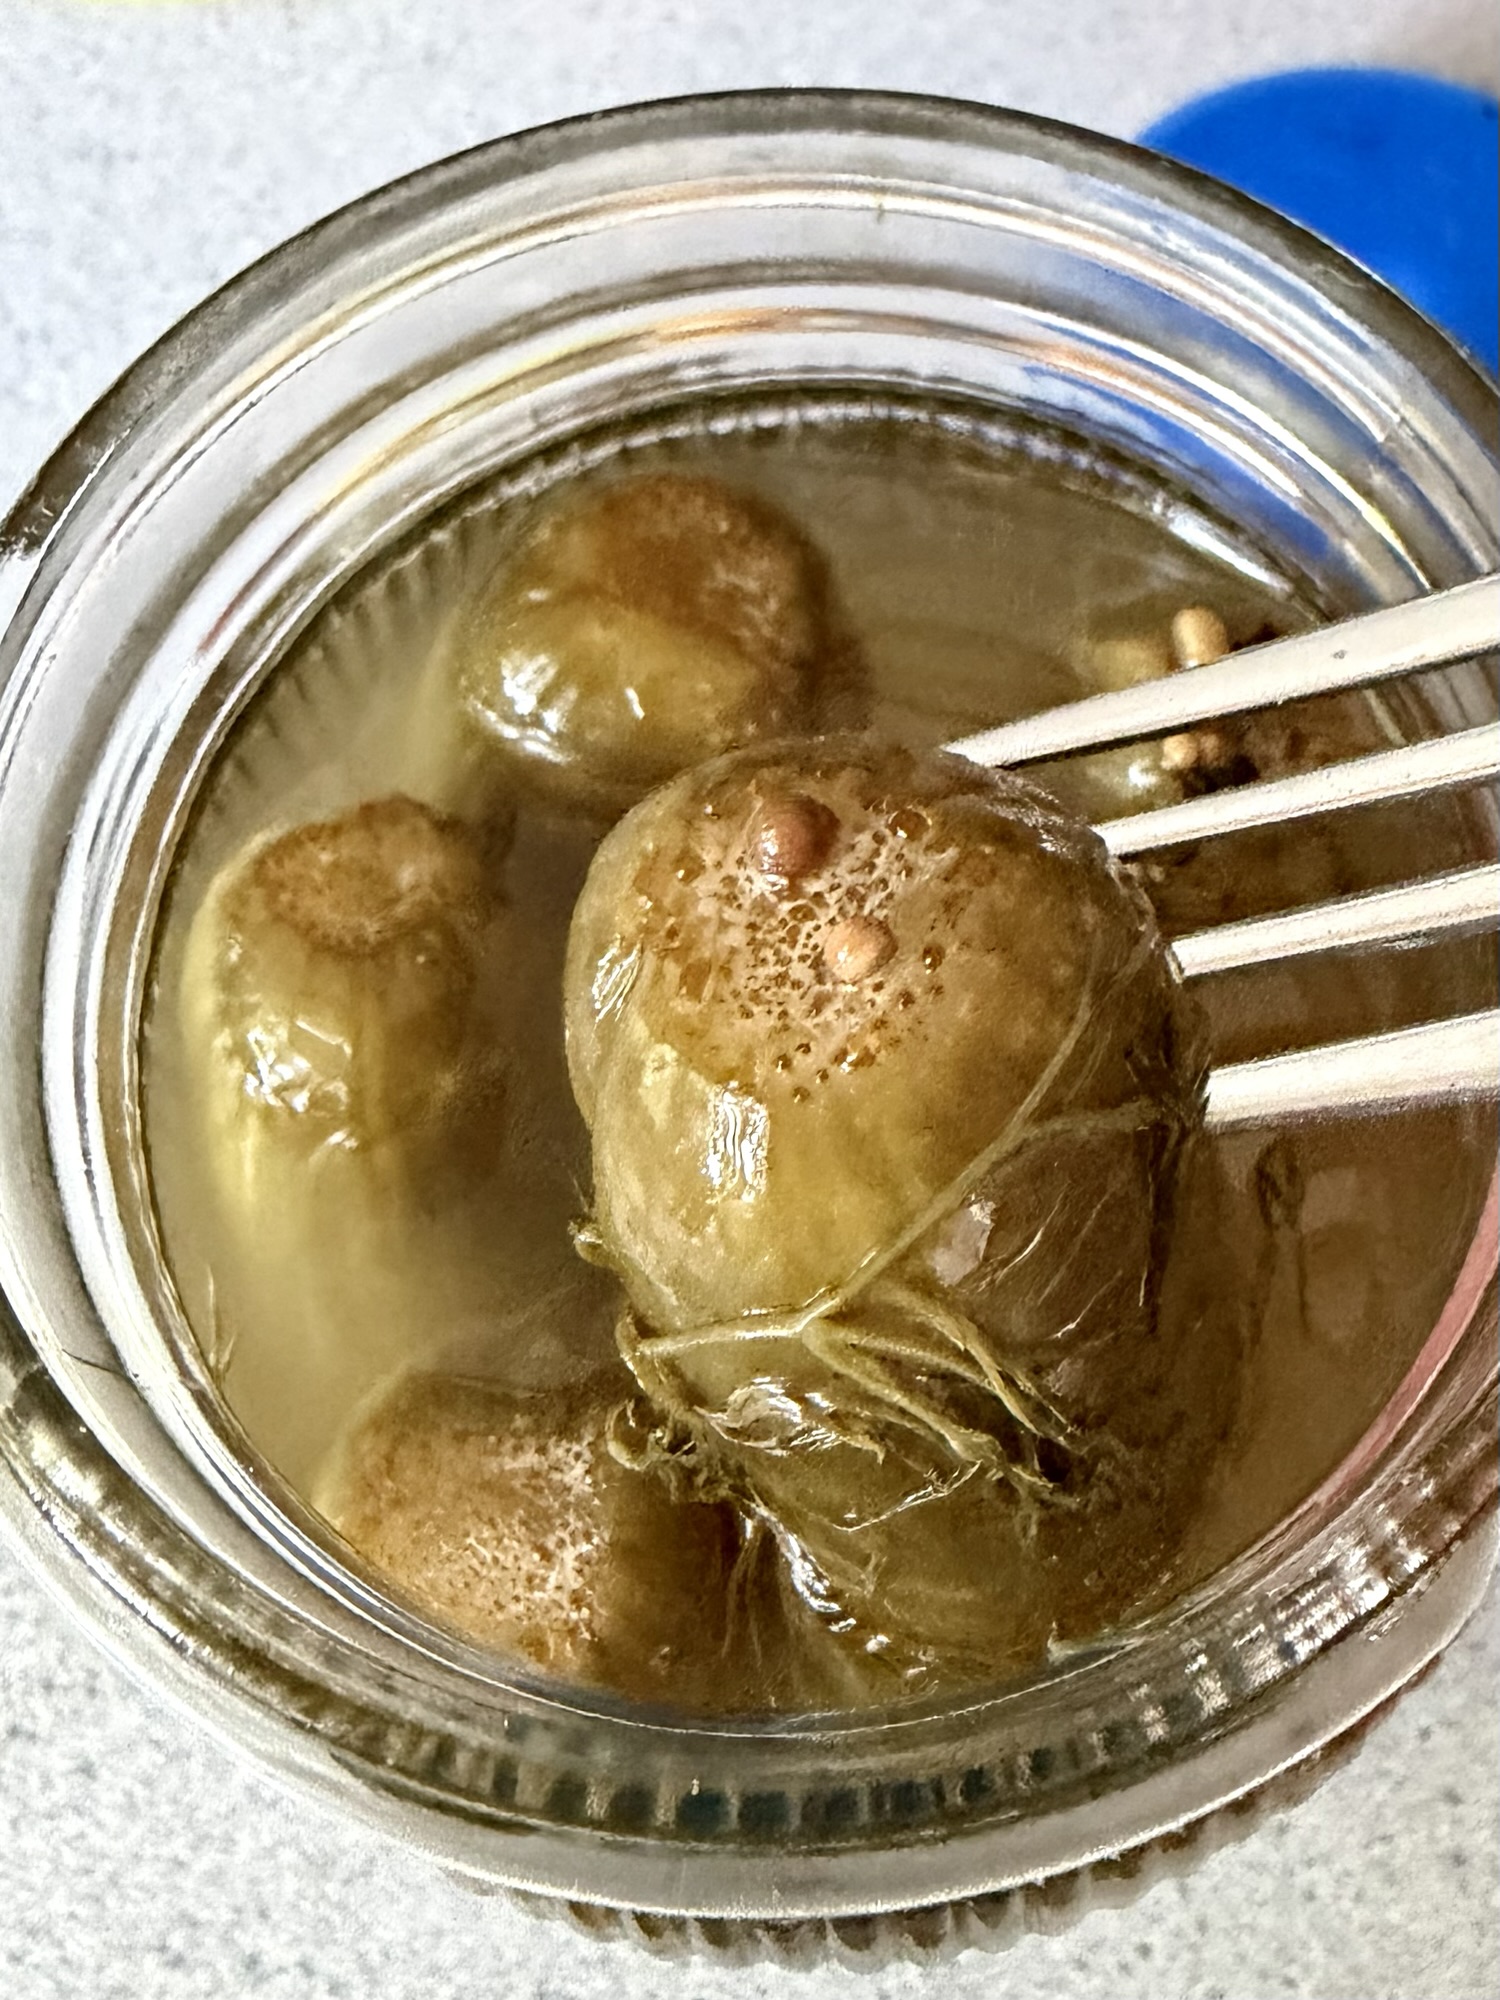
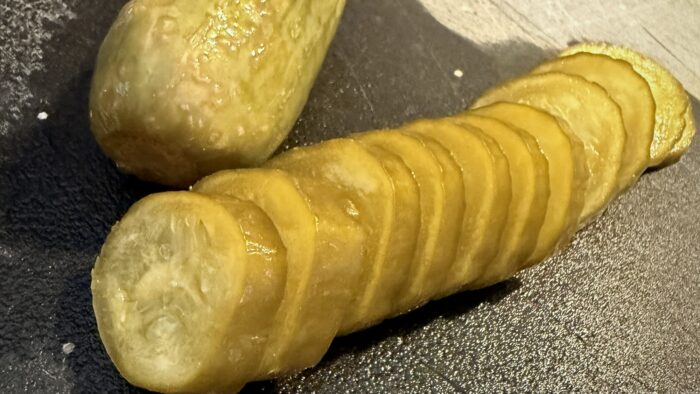
I also noticed this weird white webbing on the skin.
Which made me wonder if I’d managed to grow something new and exciting.
I looked it up with Gemini. Apparently it’s “stomata and lenticels”—part of the cucumber itself. I had to double-check that because the explanation sounded like bullshit.
I’d bore you with the extensive rabbit hole, but you can go down that one yourself. Stomata & lenticels. Apparently it’s a whole thing. I learned something.
An extreme close-up showing what it is! Stomata and lenticels! Apparently.
Also, reflecting on it—shit. Salt. I added more liquid to an already-established brine without adding any more salt, which means I also changed the salt concentration.
Did that matter at this point, especially once they were refrigerated? I don’t know yet.
So rather than continue standing in my kitchen suspiciously eating pickles by myself, I’m taking them to a party tonight.
Verdict à venir. Maybe I fucked up the pickles. Maybe I need to get used to lacto-fermented pickles. Or maybe there’s something interesting in the middle.
If you’re looking for advice on how to buy basil, this ain’t it. We’re talking about growing basil by accident, a quick fix, and pretending like I meant to do it the whole time.
Last year I had a hot pepper guild — two jalapeños, two habaneros in an enormous pot, and they crushed it. I tried to overwinter the pepper plants — and I killed them. Classic.
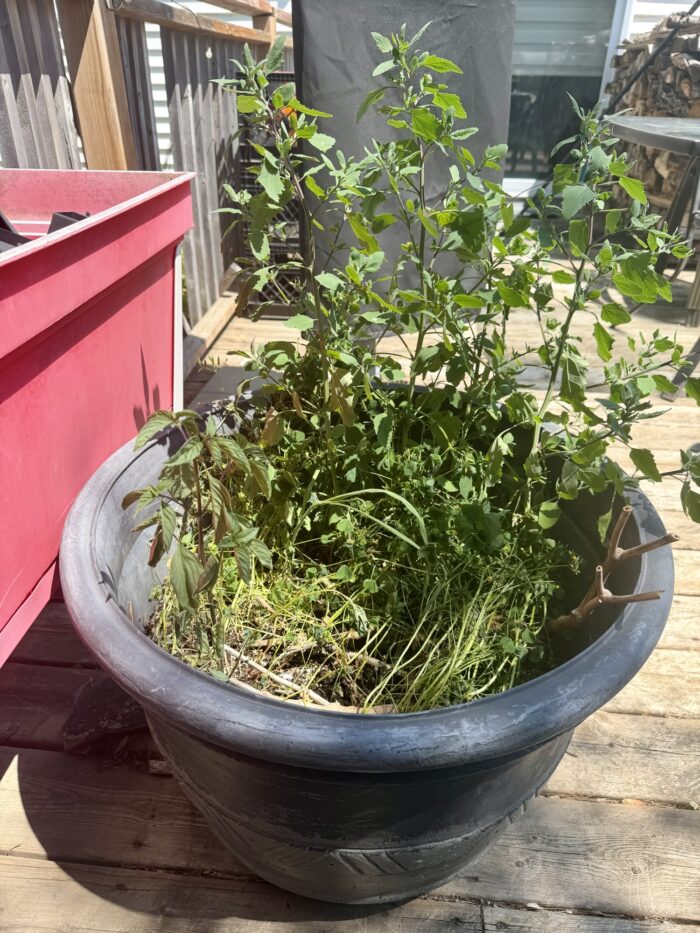
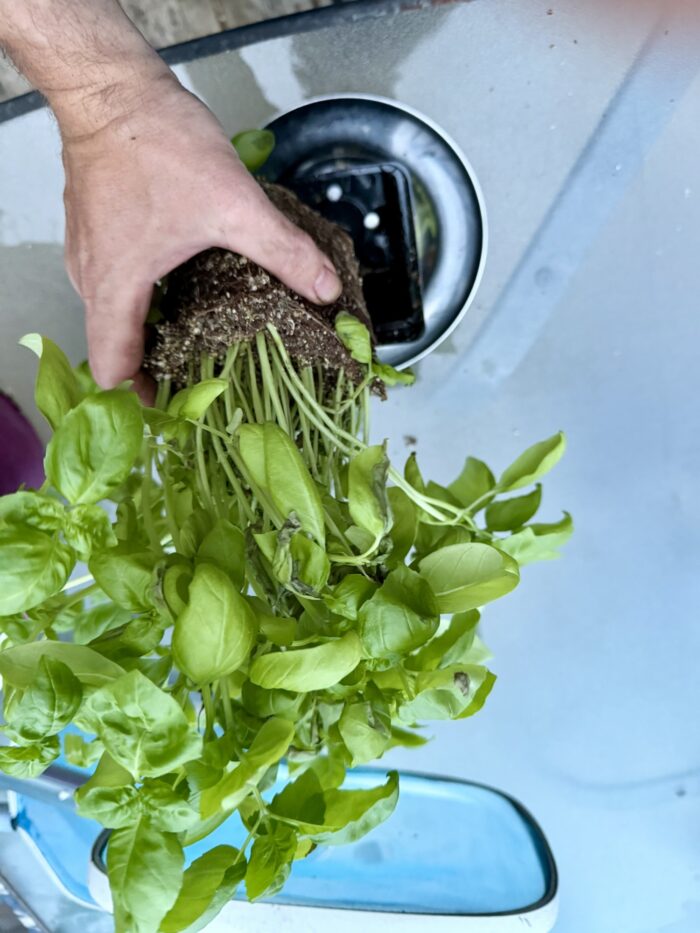
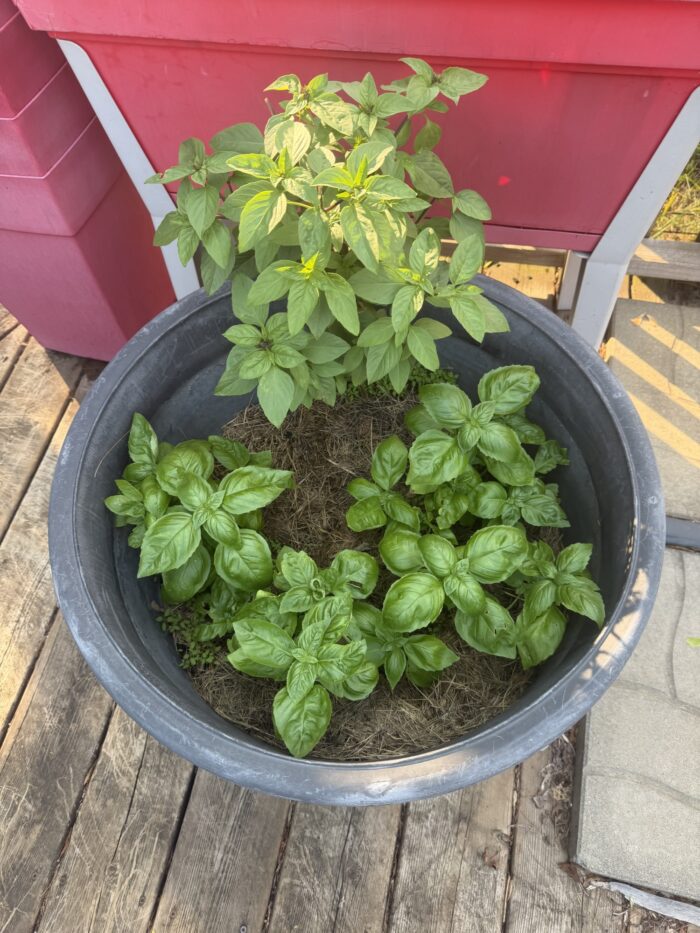
This year I went on vacation in late June and never got around to replanting the pot. When I got back, it was overgrown — except one thing was thriving in there on its own: a Thai basil plant, self-seeded from a bucket plant I’d let go to seed the year before. Nobody planted it. It just showed up and took over.
The overgrown jungle before I touched it—can you see the Thai basil on the left?
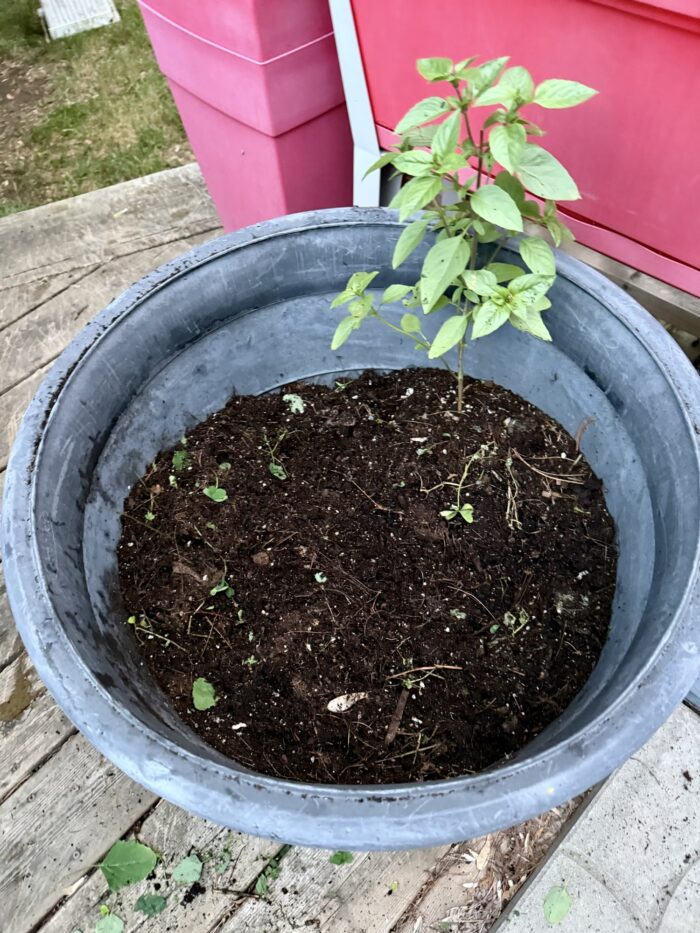
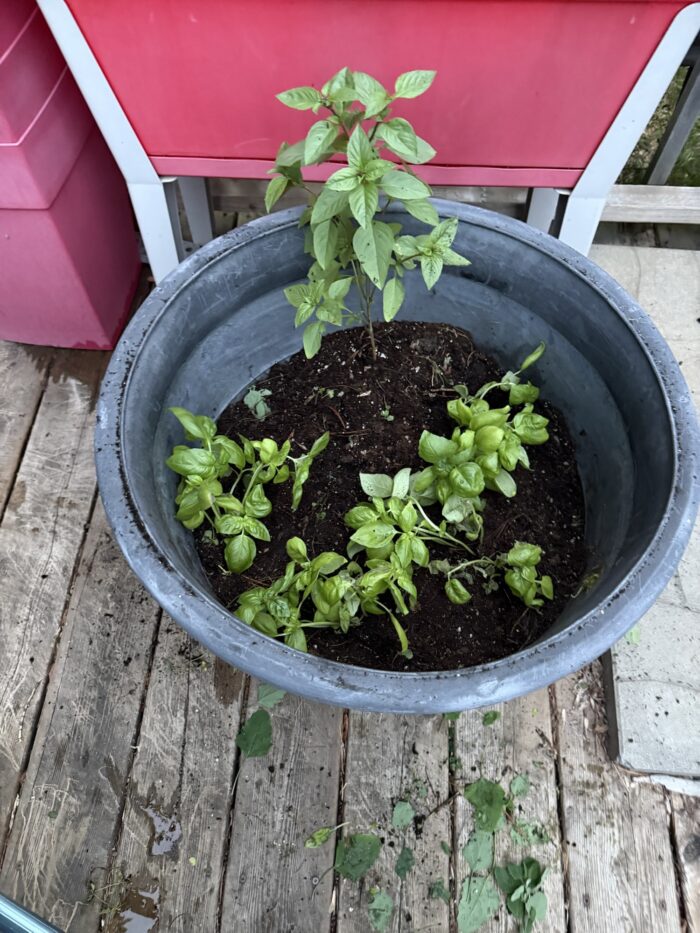
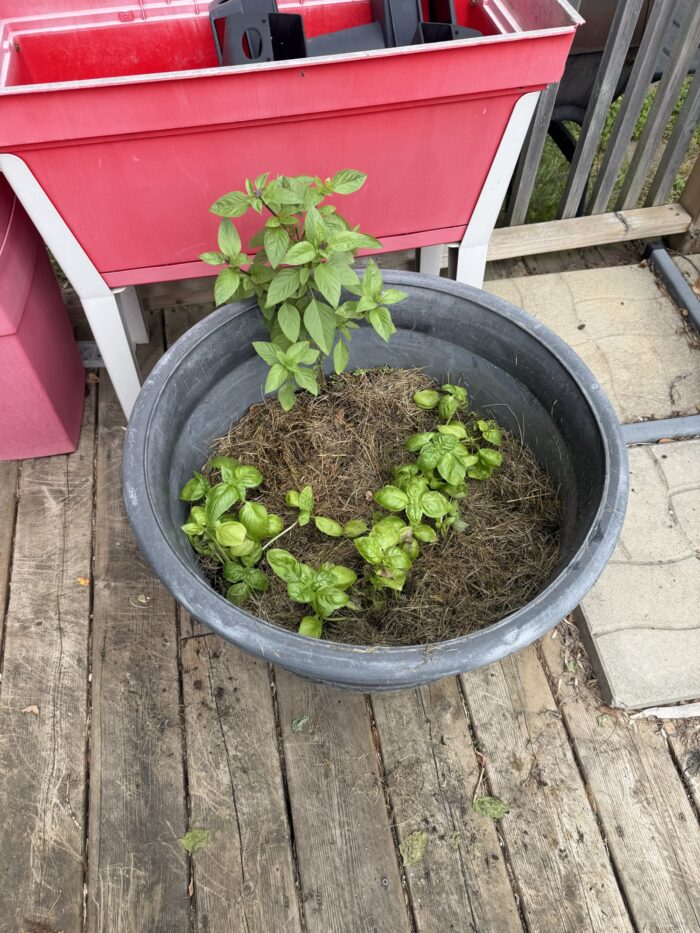
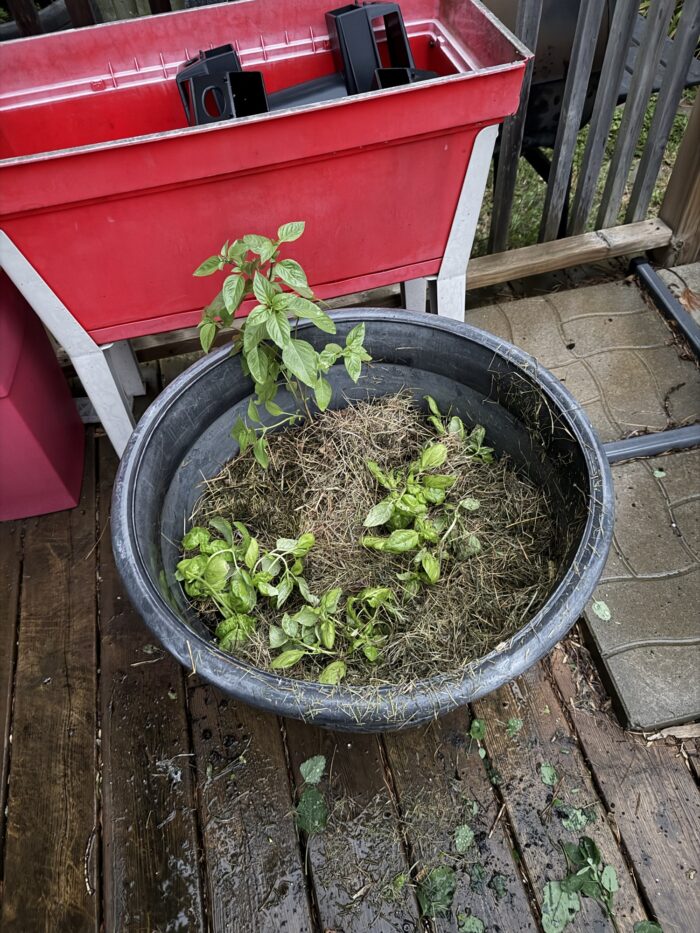
So I ripped everything else out, left the Thai basil where it stood, and planted a store-bought basil plant I’d divided. Mulched the whole thing with dried grass clippings. Then, mostly, left it alone.
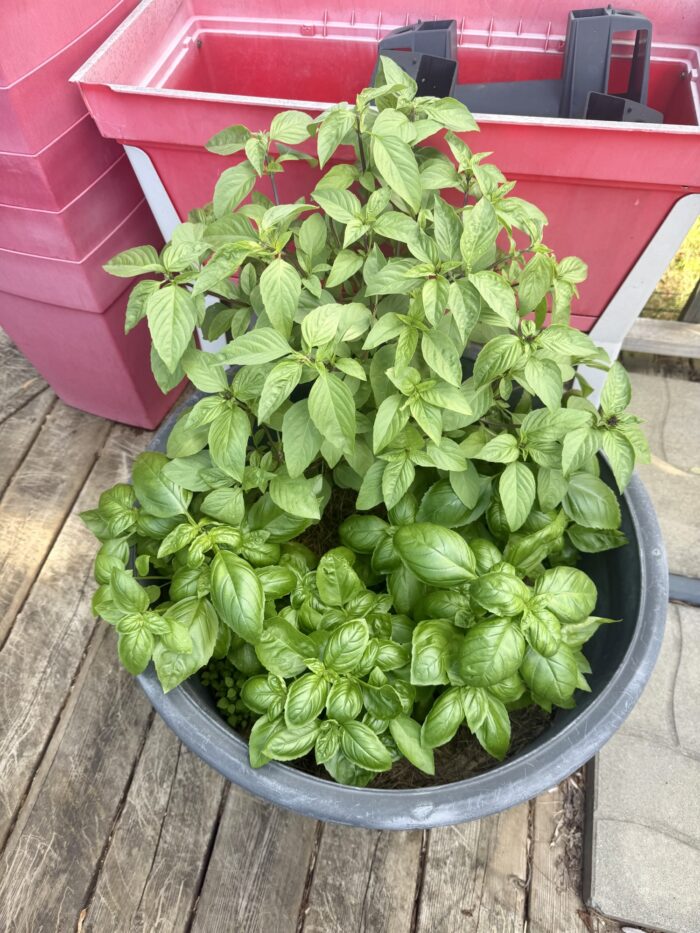
Thai basil isolated and the rest cleared outA store-bought overgrown basil plant—cost $6The new guild together – Thai basil with its basil buddiesDried grass mulch sets up this basil guild nicely
“Mostly” is doing some work in that sentence. I’ve been pinching the tops and especially the flowers off both plants the whole season. My theory — which may be complete bullshit — is that basil’s basically a weed, and weeds get eaten by wildlife and just push out more growth to compensate. So pinching it is me doing the wildlife’s job. Keeps it vegetative instead of bolting to seed and quitting on me.
A few days later after the plant had settled in, looking a bit haggardAug 9 and the basil guild is looking beautiful
Whatever the reason, it worked. The Thai basil came back harder than I expected — I’m honestly still a little shocked it’s there at all — and the divided basil filled in right alongside it. Two completely different flavor profiles sharing one pot, no drama.
Aug 21 and this basil guild is producing nicely
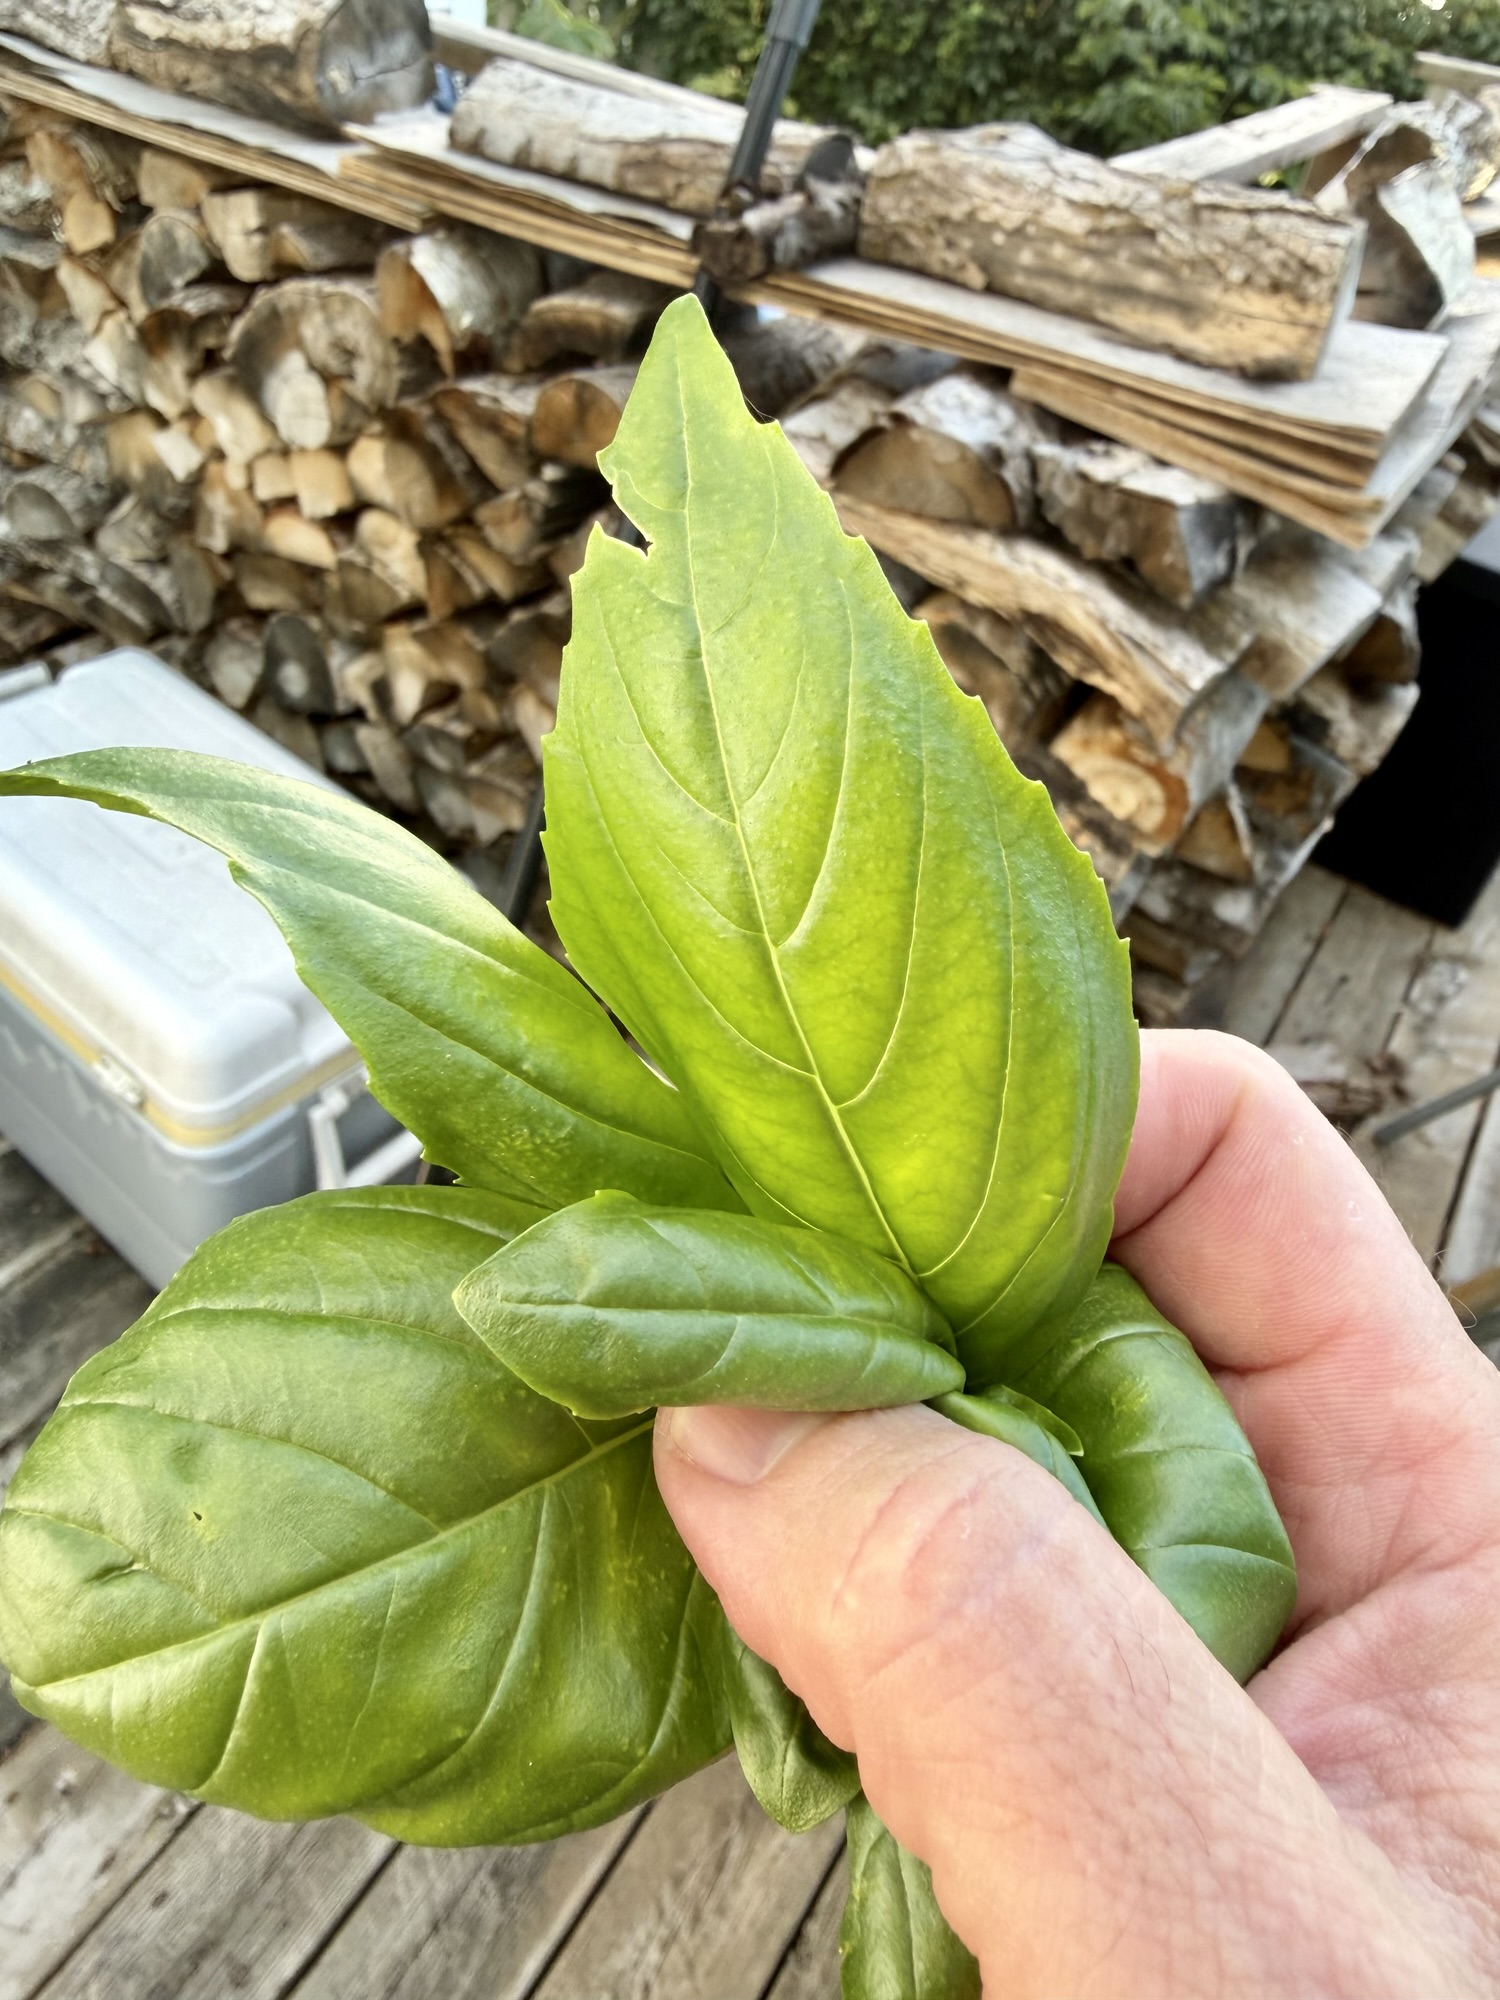
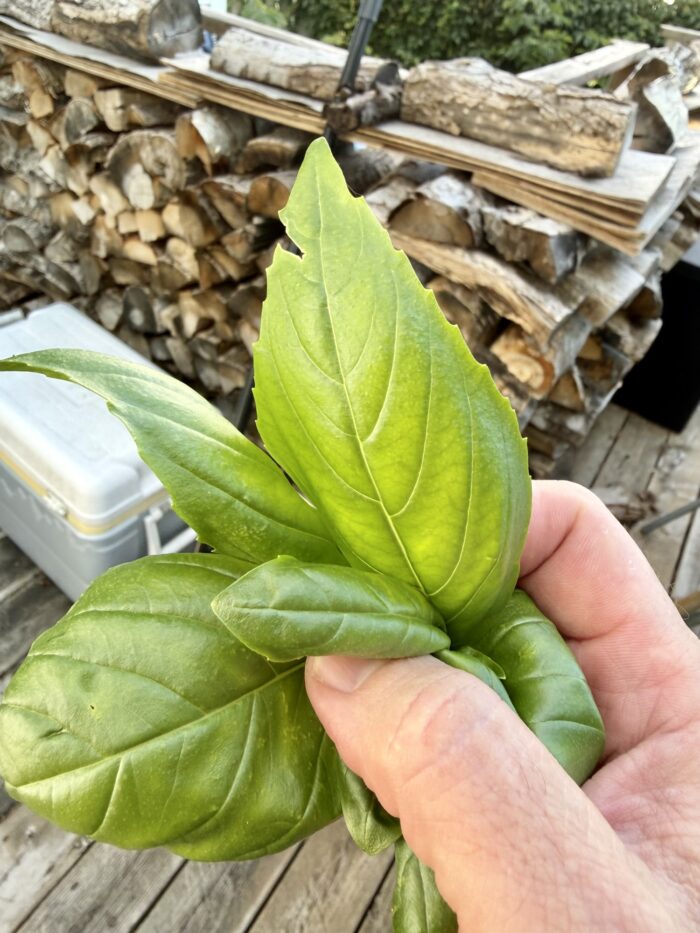
I’ve been using it hard this summer — cherry Roma tomato and zucchini braise being the one my wife and I keep coming back to. I’m also trying to figure out an Asian-style pesto for ramen night, alongside a regular one. If I’m growing it, I’m going to use it.
Freshly picked basil ready to make the zucchini and tomato braise
Next year? No idea if I run it back the same way or switch it up. But I like how this went, and honestly — this an example of what “being an artist” looks like from where I sit. A pot, an accident, and something worth eating at the end of it.
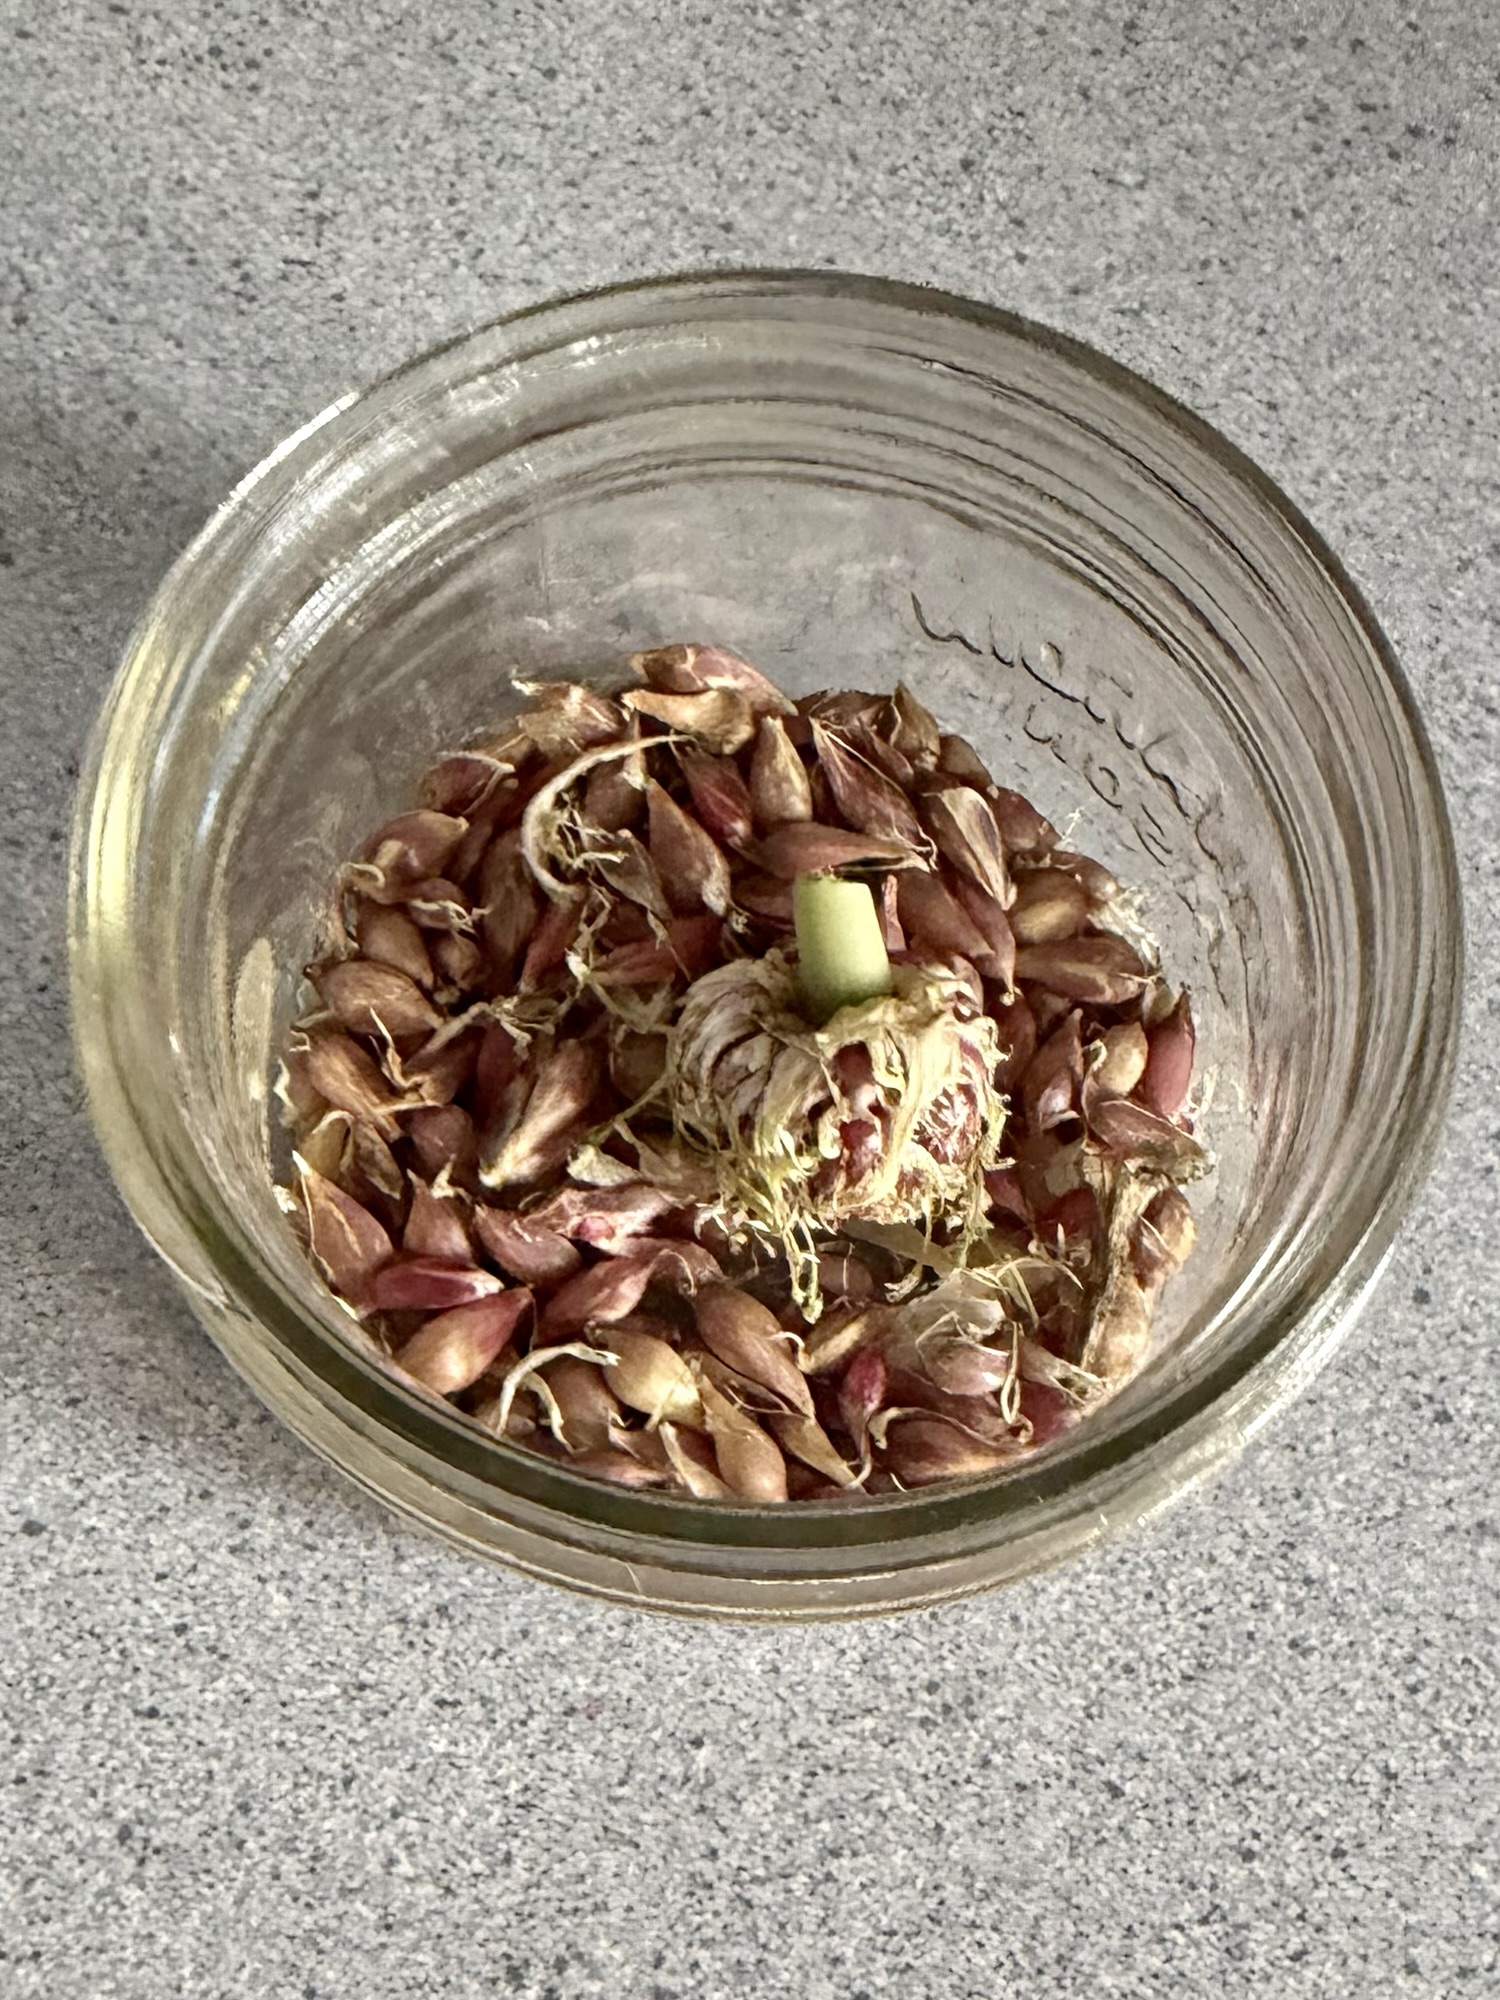
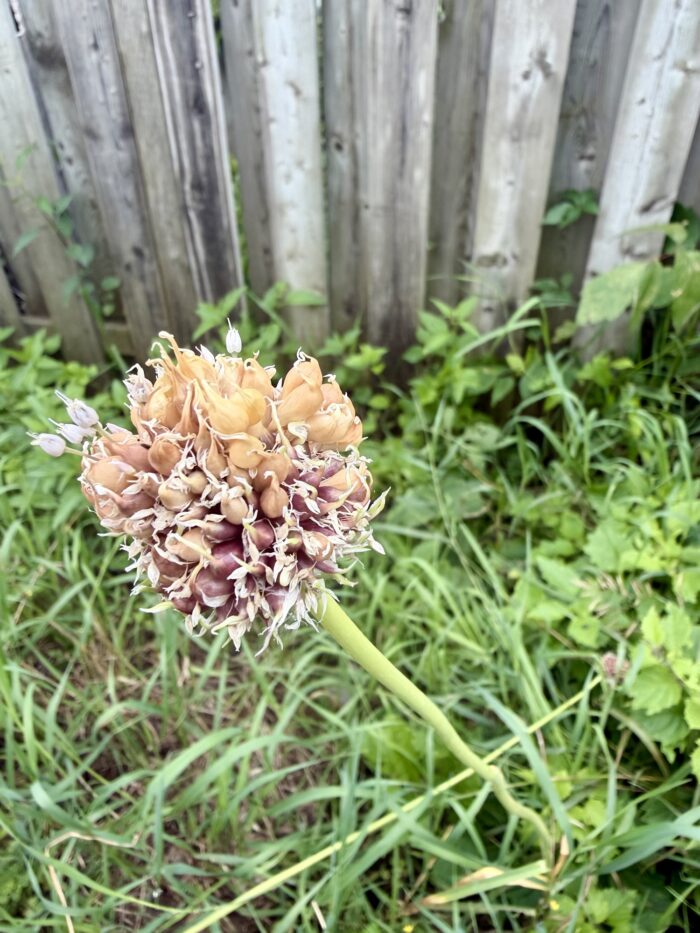
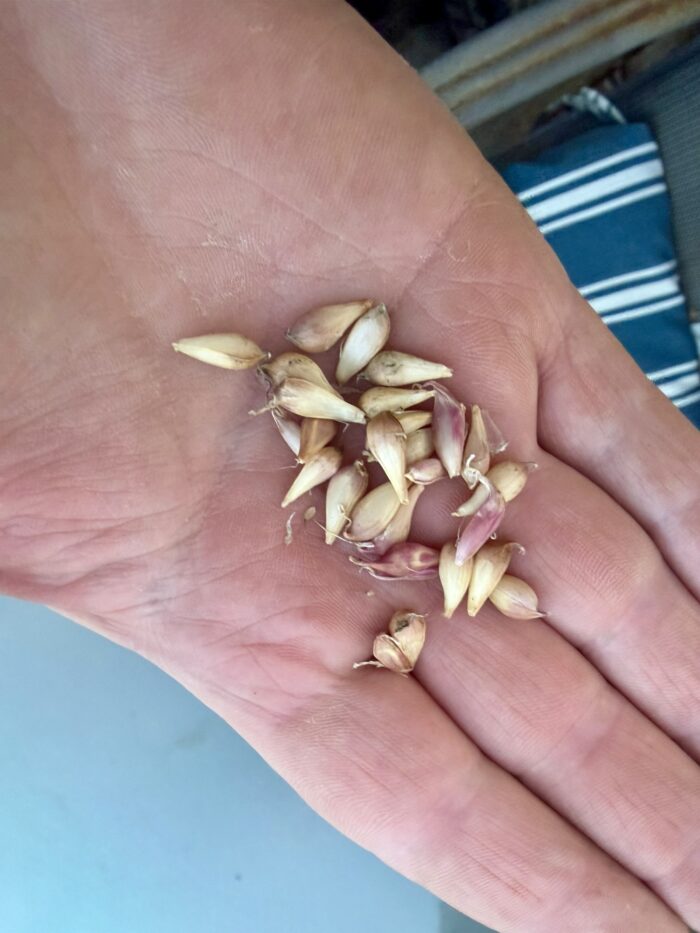
When I made the decision to “leave a few scapes go to flower,” little did I know that not only could I still use the garlic cloves, but the flower heads would produce these beautiful garlic bulbils.
Garlic flower full of bulbils
Here’s the game plan: (freshly researched through Gemini, Claude, vetted by YouTube videos and, well, whatever)
I keep these in a dry space (my basement cellar should do) until I plant them in late October. It’ll take two years to produce full garlic heads. This is the long game, if Gemini is to be believed.
Garlic bulbils in my hand
Also, as an aside, I just learned you can use garlic bulbils in pickles — you don’t even have to peel them. Maybe worth exploring more bulbils for the future.